This post may contain affiliate links, view our disclosure policy for details.
Spring is ALMOST here (kind of, but I REALLY want it to be almost here!) so we’re transitioning our house to beautifully decorated spring decor! This Easter Bunny, carrot & egg String Art craft is just too awesome for words and is easy to create!
Below I’ve included detailed instructions along with a FREE printable string art template to get the perfect shaped bunny, carrot and eggs on your board!
I cut my pattern apart and used masking tape to place it where I wanted it on the board. Depending on the size of your board, you may need to do the same.
Art Instructions:
With the pattern taped on your board, begin to pound the nails into the wood with the tack hammer. I pounded mine about 3/8″ into the wood. Space the nails about 1/2″ apart. Some fine detailed areas and curves will require closer spacing to create detail.
Once you’ve pounded in all of your nails, lift the paper up, off the board and then tear it apart. If you forget to lift up, you may need some tweezers to remove little bits of paper that stick down with the nails.
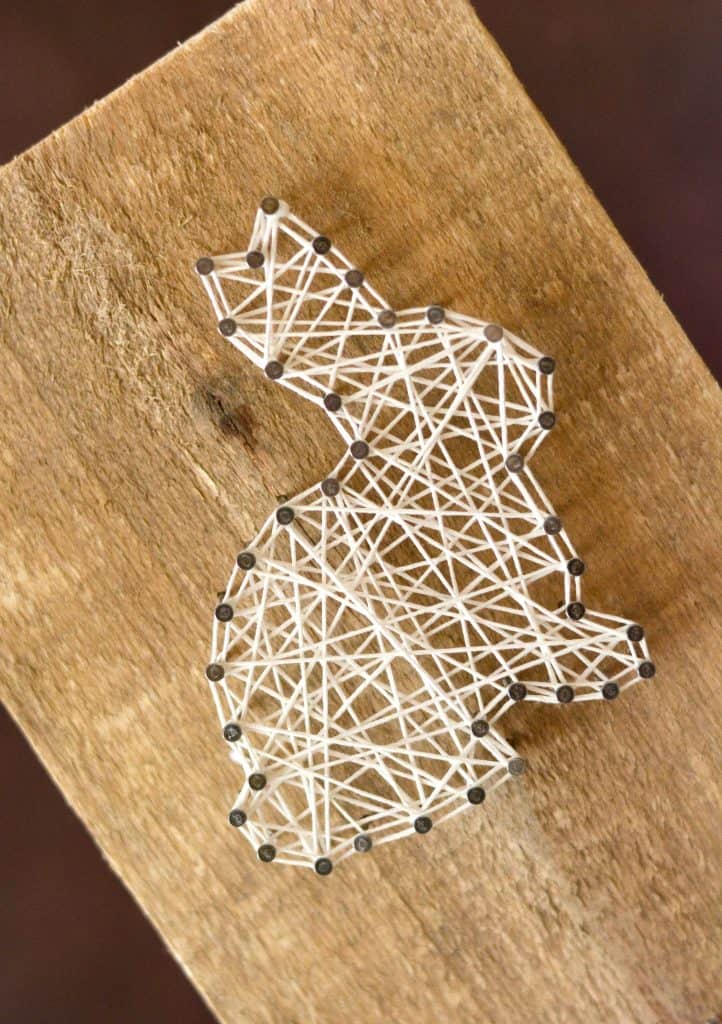
Begin at the top, with the bunny. Tie your white floss around one nail and double knot it. Trim the excess. There’s really no right or wrong way to do this! I begin in a zig zag pattern, skipping every other or every third nail and then weave my way back and across and all around. When you are happy with your look, begin the outline.
To outline the shapes, wrap the floss completely around any nail, and then follow it to the next nail, wrapping and moving to the next nail, and so on. When you meet back where you started, reverse your direction to outline the inside.
When finished tie your floss through an outline and double knot it. Trim the excess.
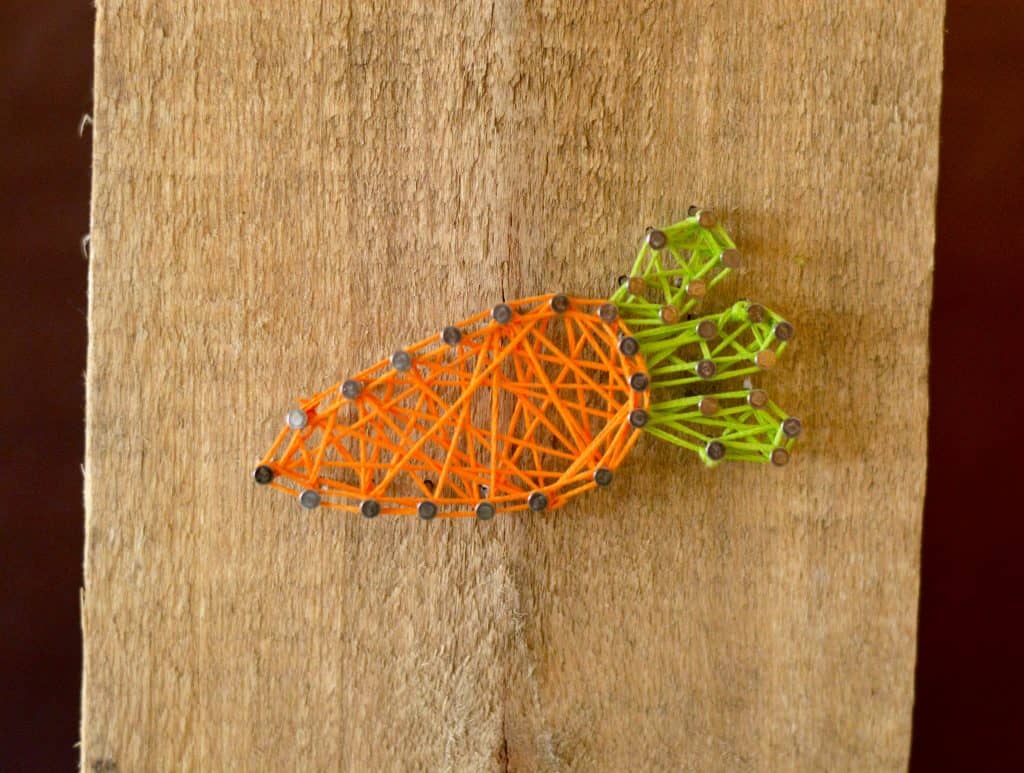
Continue with the carrot.
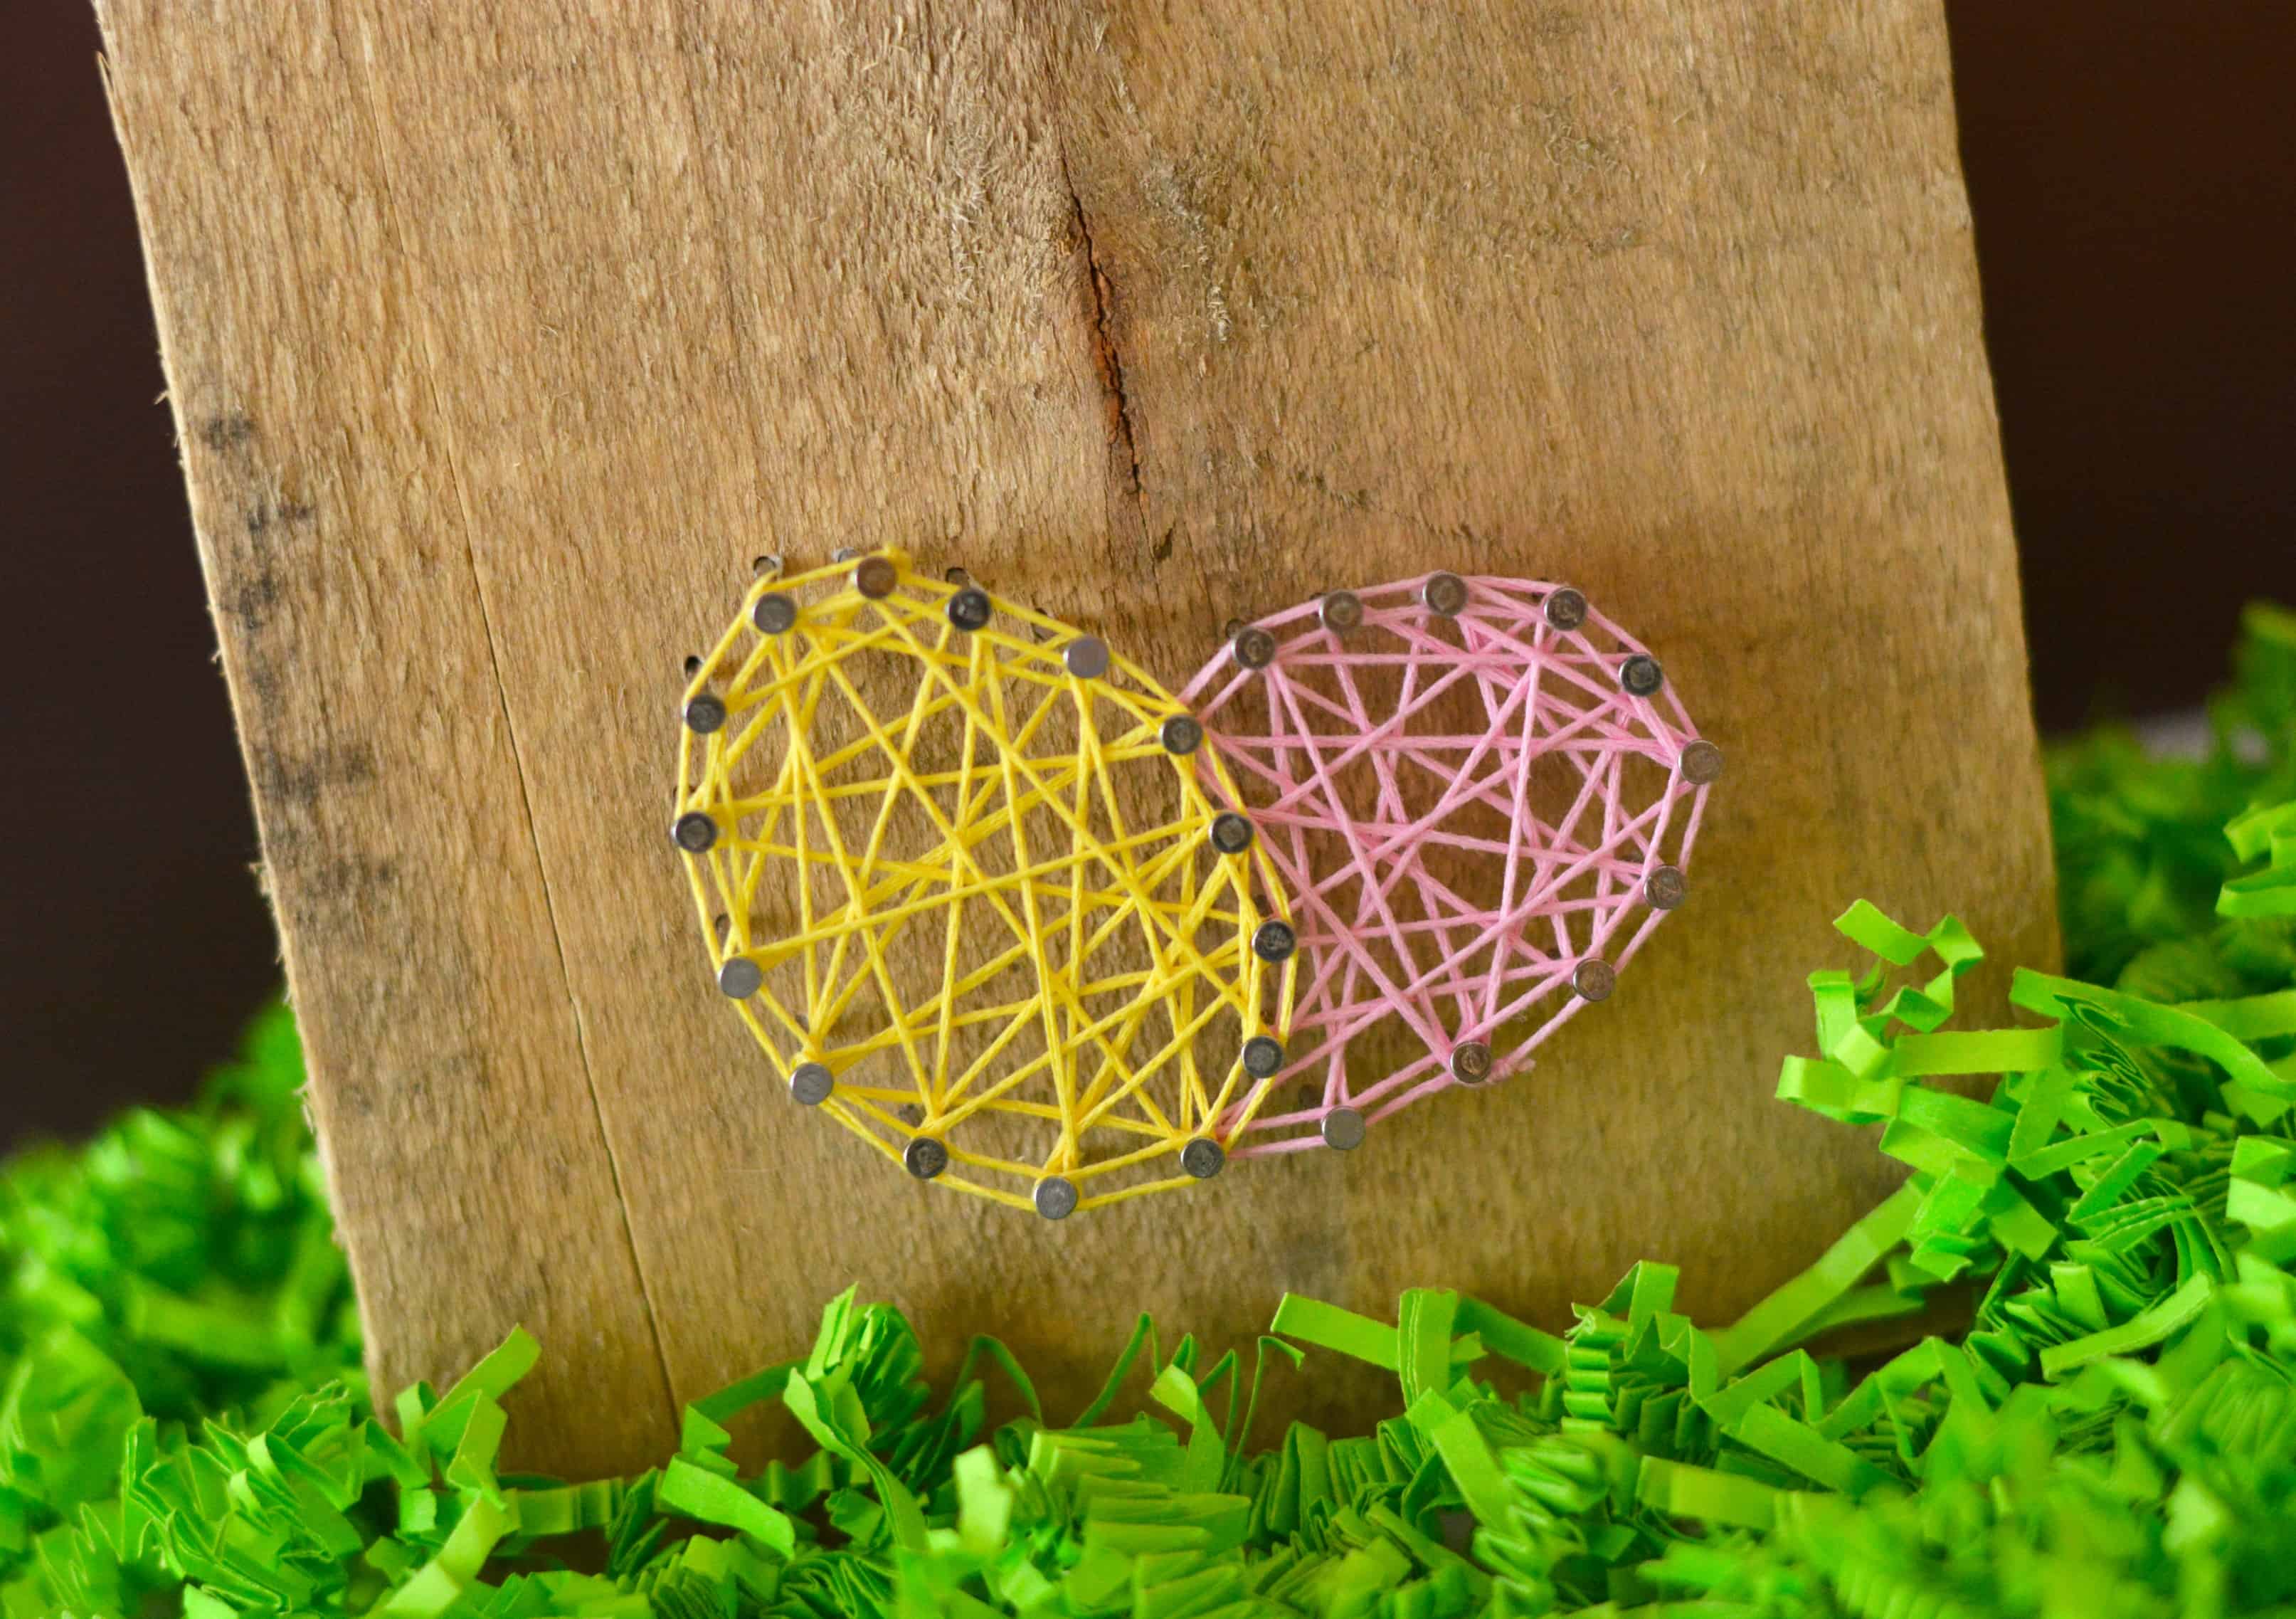
And finish with the eggs.
Helpful tips:
It is important to keep the string tight, therefore your starter knot must be very tight. You will probably get discouraged when your floss begins to loosen and everything unravels. To prevent this, be sure to wrap the string around a nail head twice, every now and again.
When working with the carrot, I started with the green.
For the egg, I began with the pink, or egg that sits behind the yellow one.


 (8.7 yard pkgs) in colors you desire. I used 1 each of the following colors:
 : 7/8″ long. 2 oz package.