

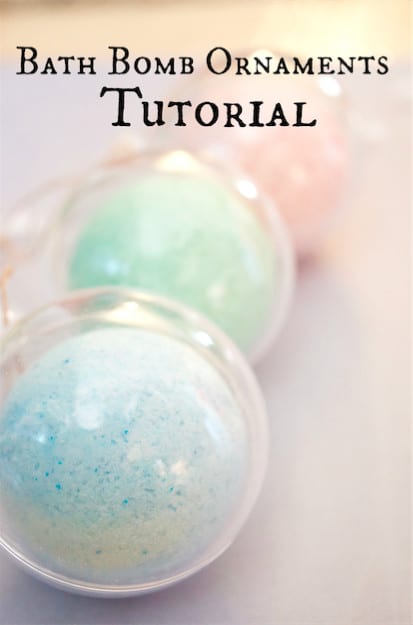
How to Make Your Own Bath Fizz Ornaments Tutorial
This post may contain affiliate links, view our disclosure policy for details.
Bath fizzes are high on both my wish list this year as well as my daughter’s wish list believe it or not! But I don’t want to spend $3+ on each bath bomb because I know we’ll use one EVERY bath we take and that adds up SO quickly! So I decided to buy ingredients to make our own!
My husband used to buy me amazing gift sets from Etsy and Lush when we could afford it but some years are a DIY bath bomb sort of year! Not only will it save us a ton of money but we can completely customize them! Add your own colors, scents, designs and even toy surprises!
Here’s what you’ll need to get started:
Bath Fizz Ingredients:
-
Metal Bath Mold
 or Plastic Ball Ornament from Oriental Trading
 -
1/4 cup Citric Acid
-
1/4 cup Epsom Salt
-
1/2 cup Baking Soda
-
1/4 cup Corn Starch
-
1.5 tbsp. melted Coconut Oil
-
.3 tbsp Water
-
1 tsp essential oil (optional)
-
Food Dye
(optional)
 or Plastic Ball Ornament from


 (optional)
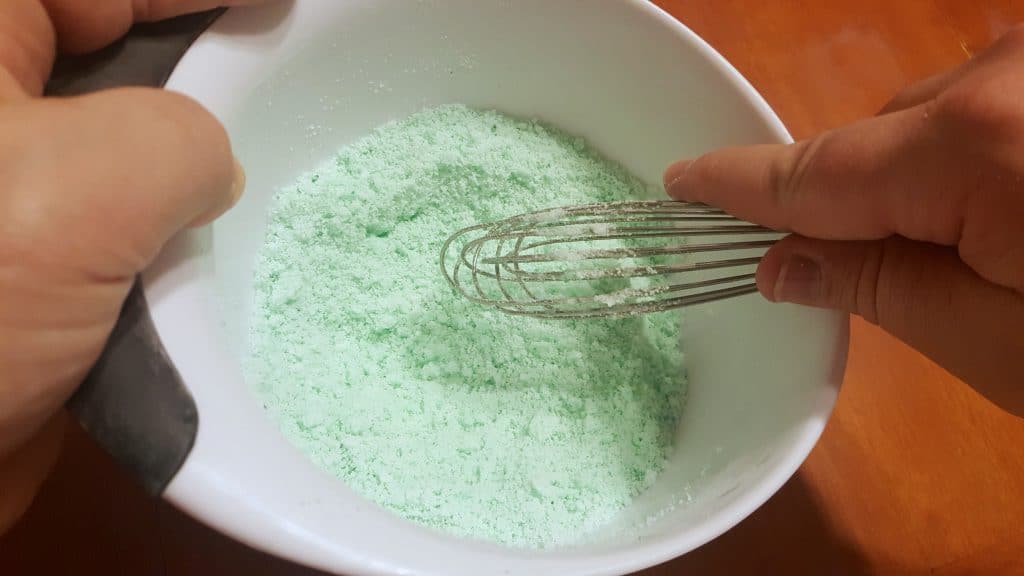
1. Mix ALL of your DRY ingredients in a bowl and whisk together.
2. Then add your wet ingredients one by one, slowly, and whisk rapidly to mix well. Be CAREFUL with the water addition as it will make your ingredients begin to fizz! You want to add it extremely slowly and whisk together very well! Add the desired amount of fragrance and dyes. This will be personal preference!
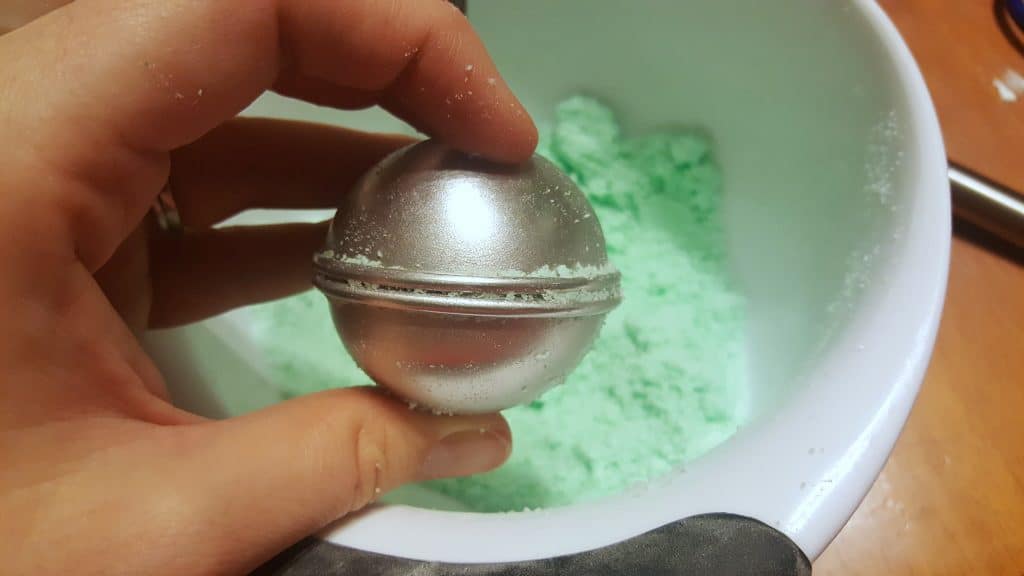
3. Scoop the ingredients together with a metal bath fizz mold . This can be very tricky to get the bath bomb to stay together! You need a balance of pressing together firmly but not TOO firmly! To remove the mold lightly twist the top right off. You might want to try a few practice pieces first to get the hang of it.
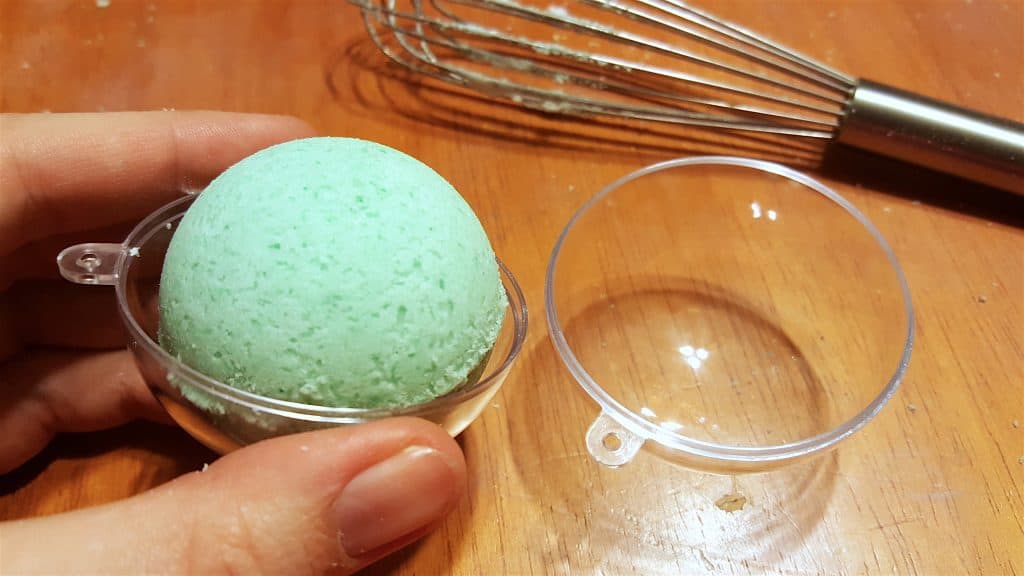
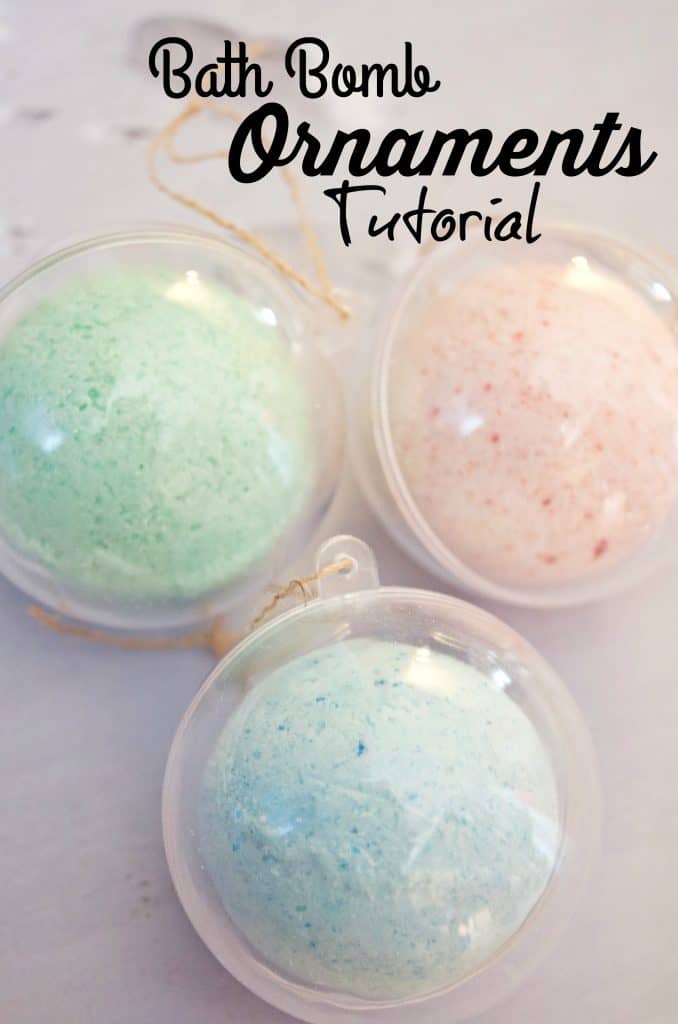
4. Place your bath fizz inside of your ornament (Oriental Trading sent us these great clear plastic ornaments!) and let it sit still for 24 hours to harden.
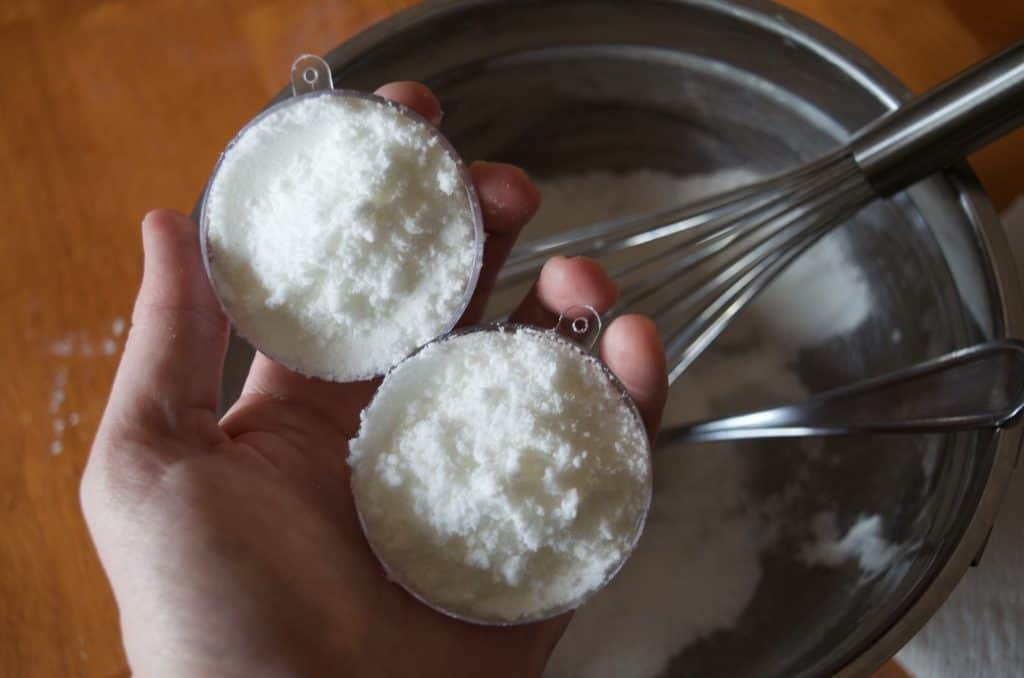
Here’s a photo of what your two molds should look like BEFORE pressing them together. Heap your bath fizz mix into each side, slightly packed, and add a little bit of loose mix on top. Press the mold together – make sure not to over pack it too much!
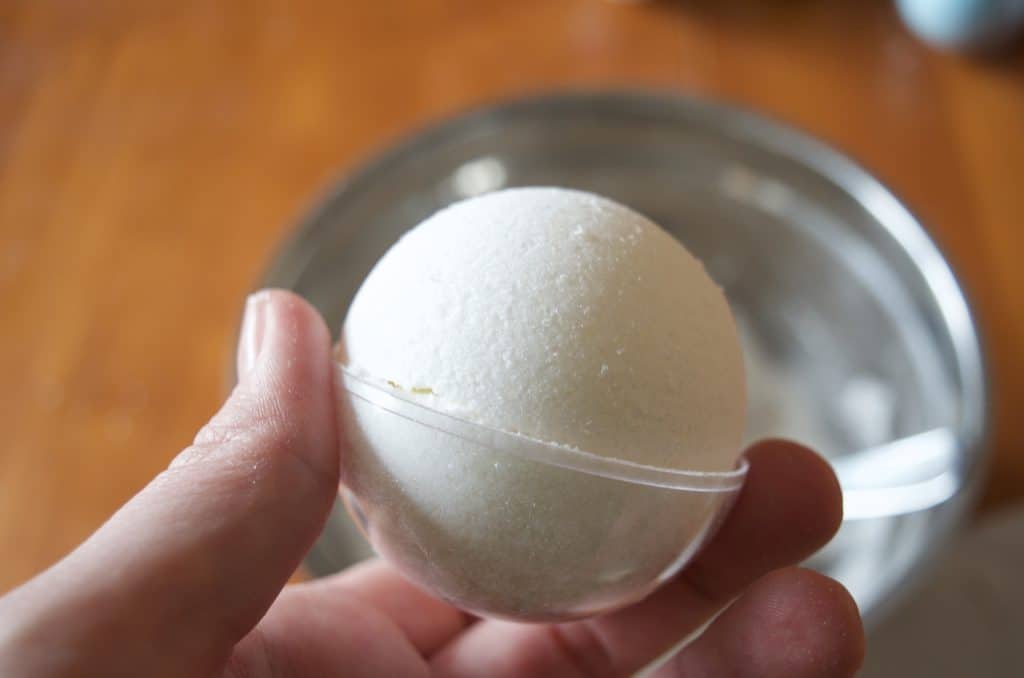
Another option is to simply scoop your bath fizz mix directly into the clear ornament which provides a perfectly filled container!
I preferred the way this looks, but the only downside I had was that when you reopen the ornament right away it’s really loose and crumbs right away. I maybe should have let it dry for 24 hours to see if it would harden together first!
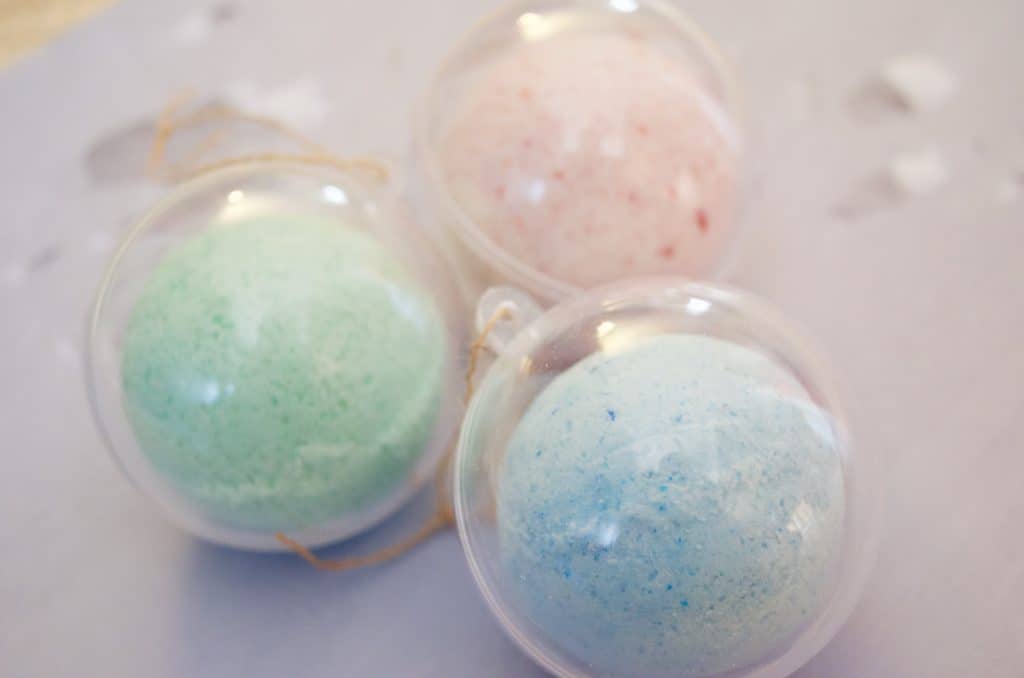
I made all sorts of colors but stuck with Peppermint, Spearmint, and Wintergreen essential oils for a minty trio! Just add some twine and tie it off to make your ornament! Other popular fragrances are fruity ones like citrus and floral ones!
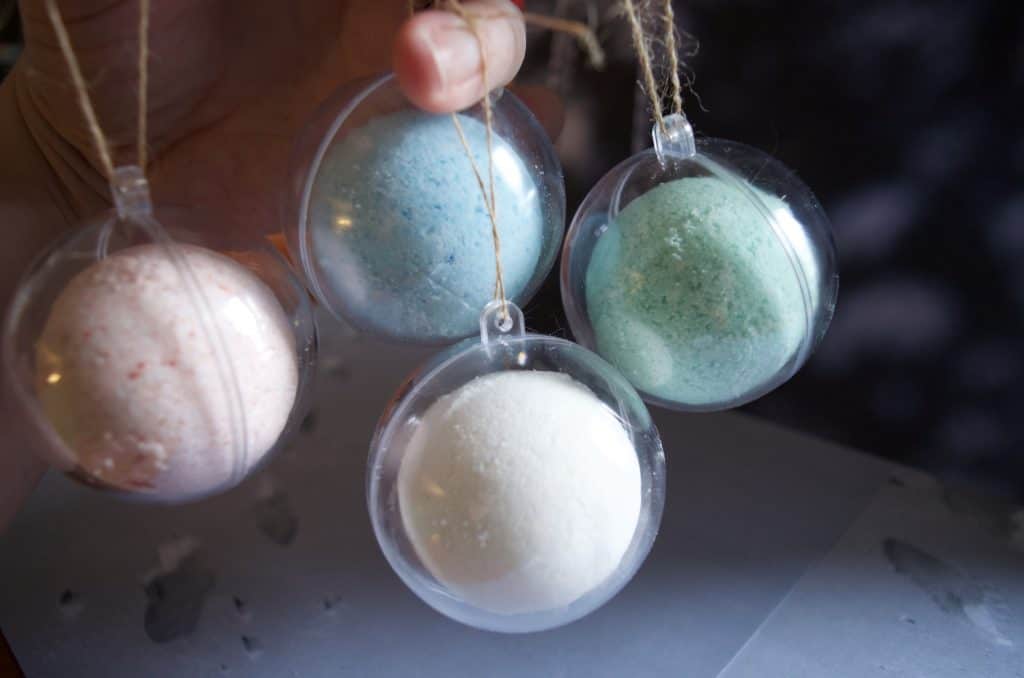
Don’t have twine? No worries! I actually de-threaded scraps of burlap for my ornaments! You can wrap them in seran wrap or individual gift favor bags too!
Don’t get discouraged if your bath fizzes fall apart – you’ll get the hang of it! I found after a few tries it just takes a little finesse but once you figure it out it is super easy to move through your bath fizz batch quickly! These make really thoughtful little gifts to give any time of year!
They are a great pick me up gift for teachers too!
Buy the ingredients for your own Bath Fizz now or buy specialty ones on Etsy!
POPULAR homemade gift IDEAS:
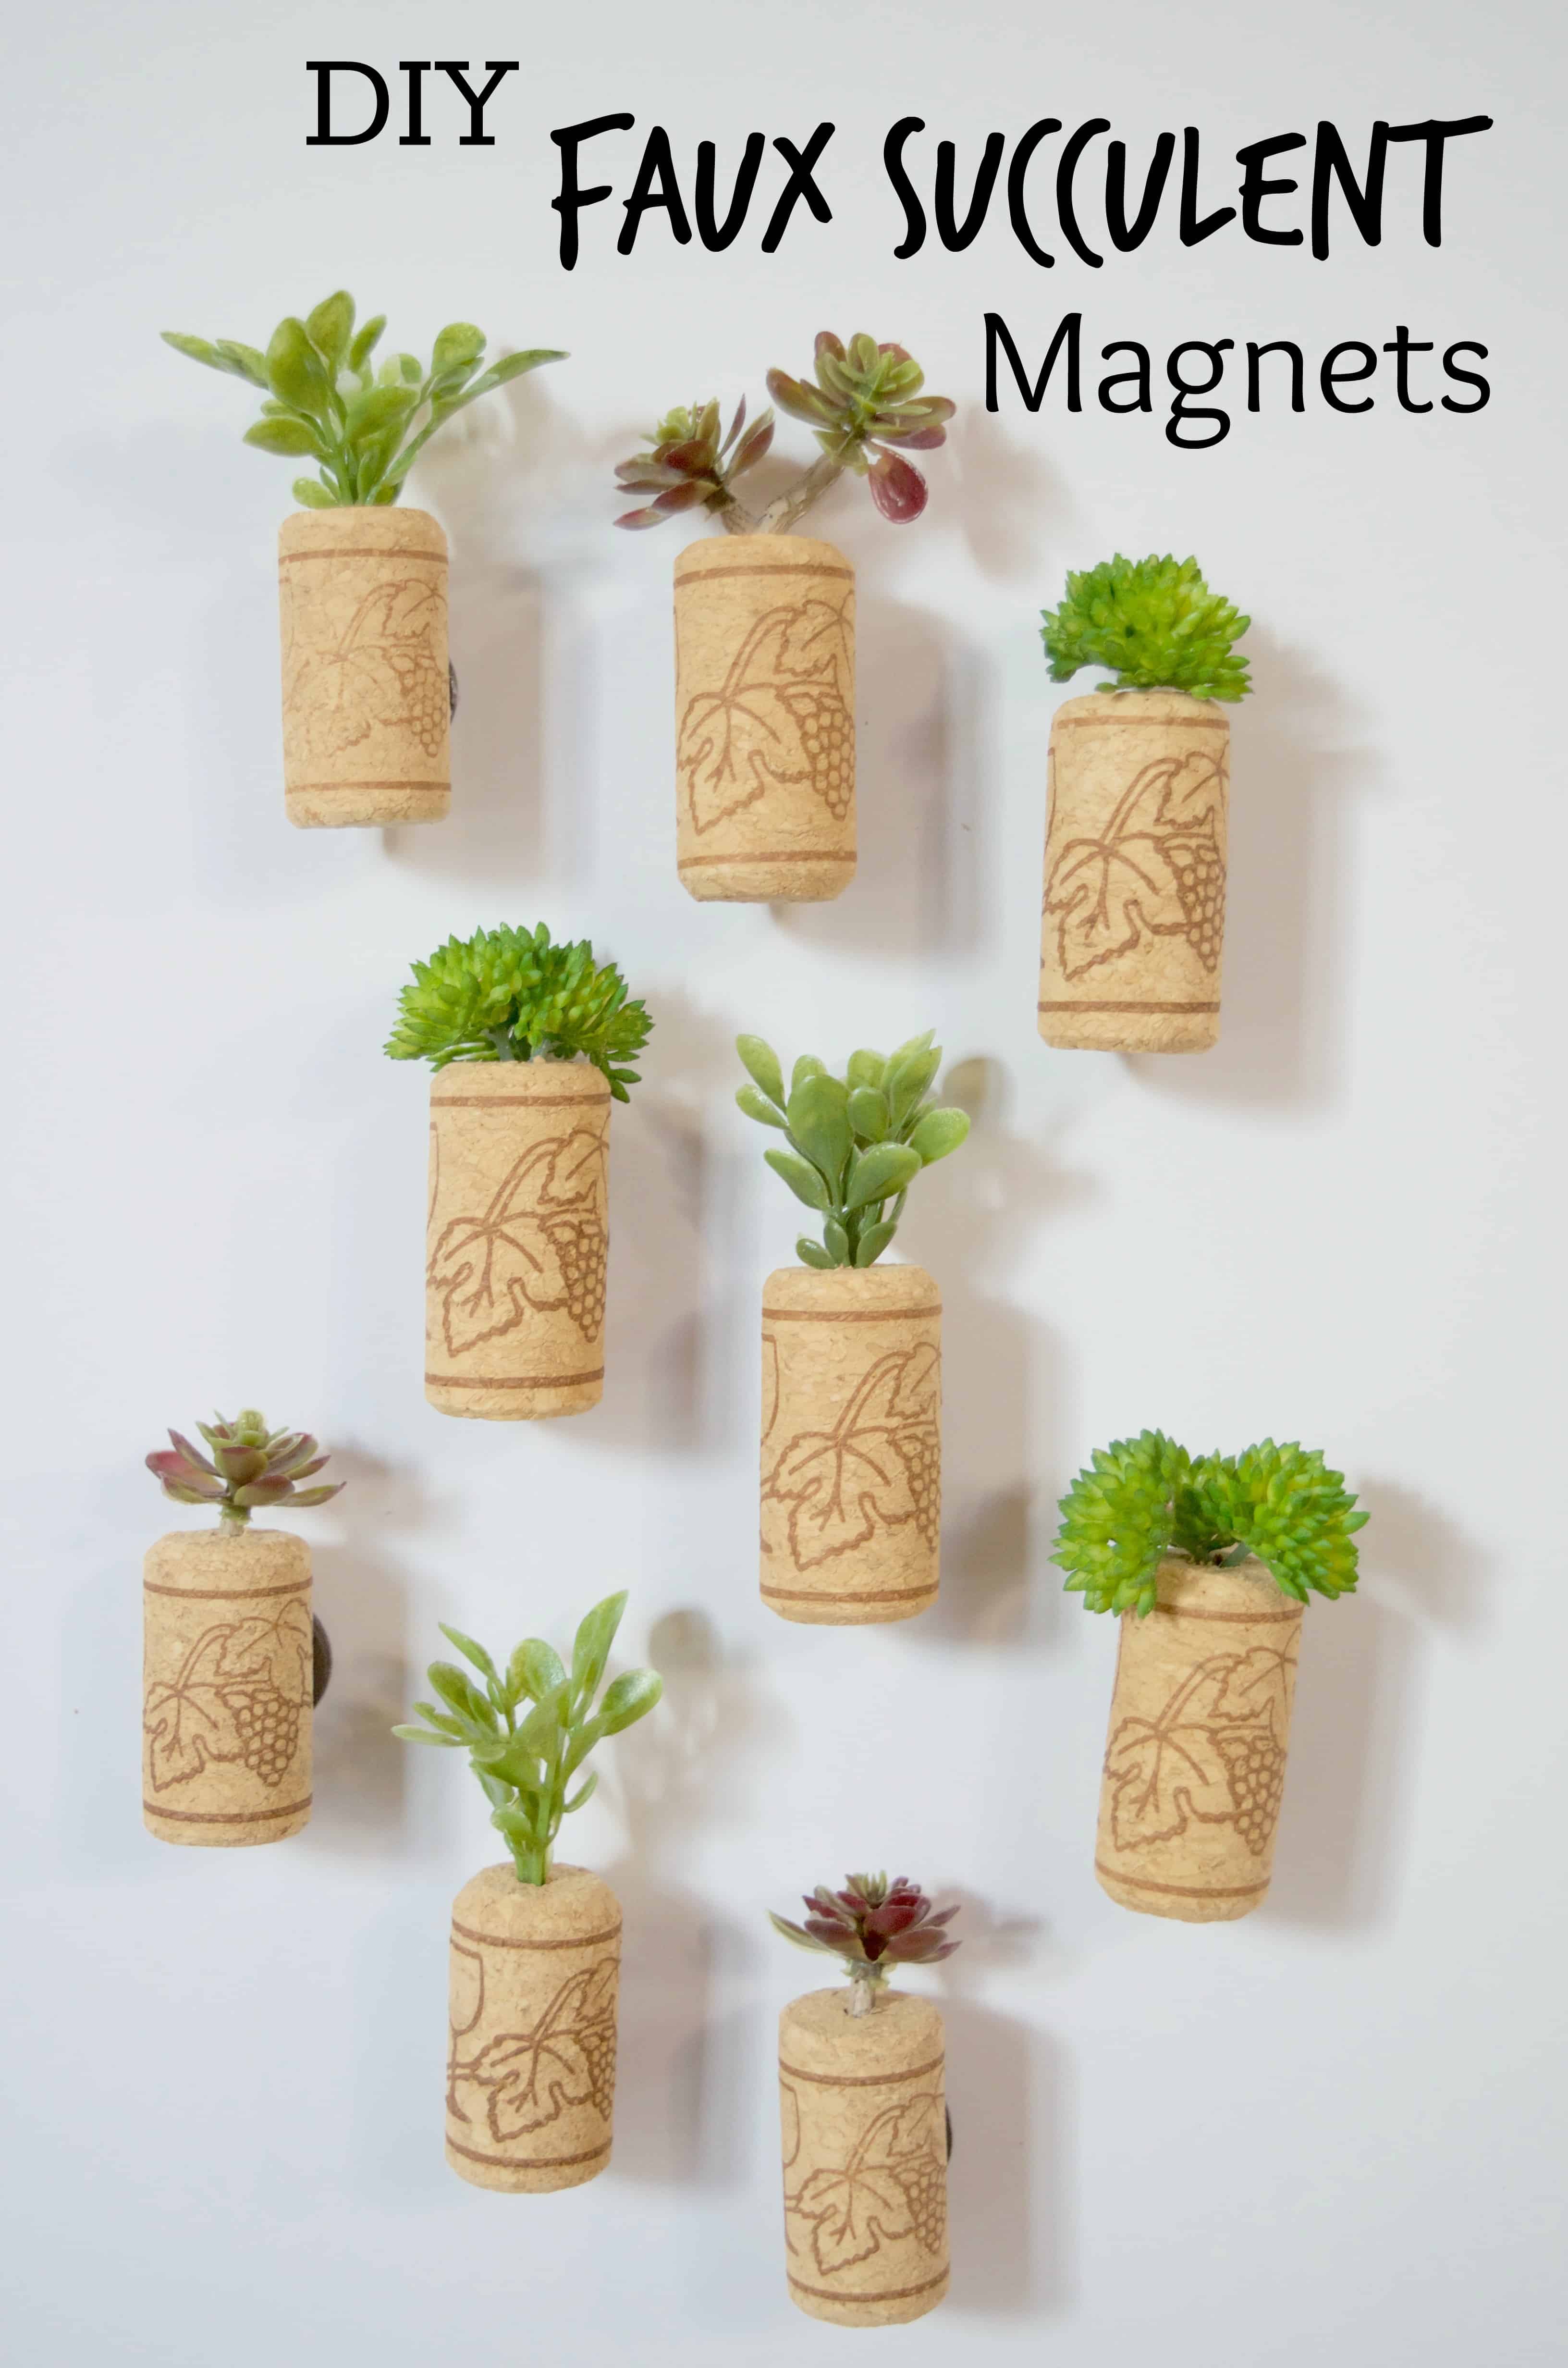
Faux Succulent Magnets
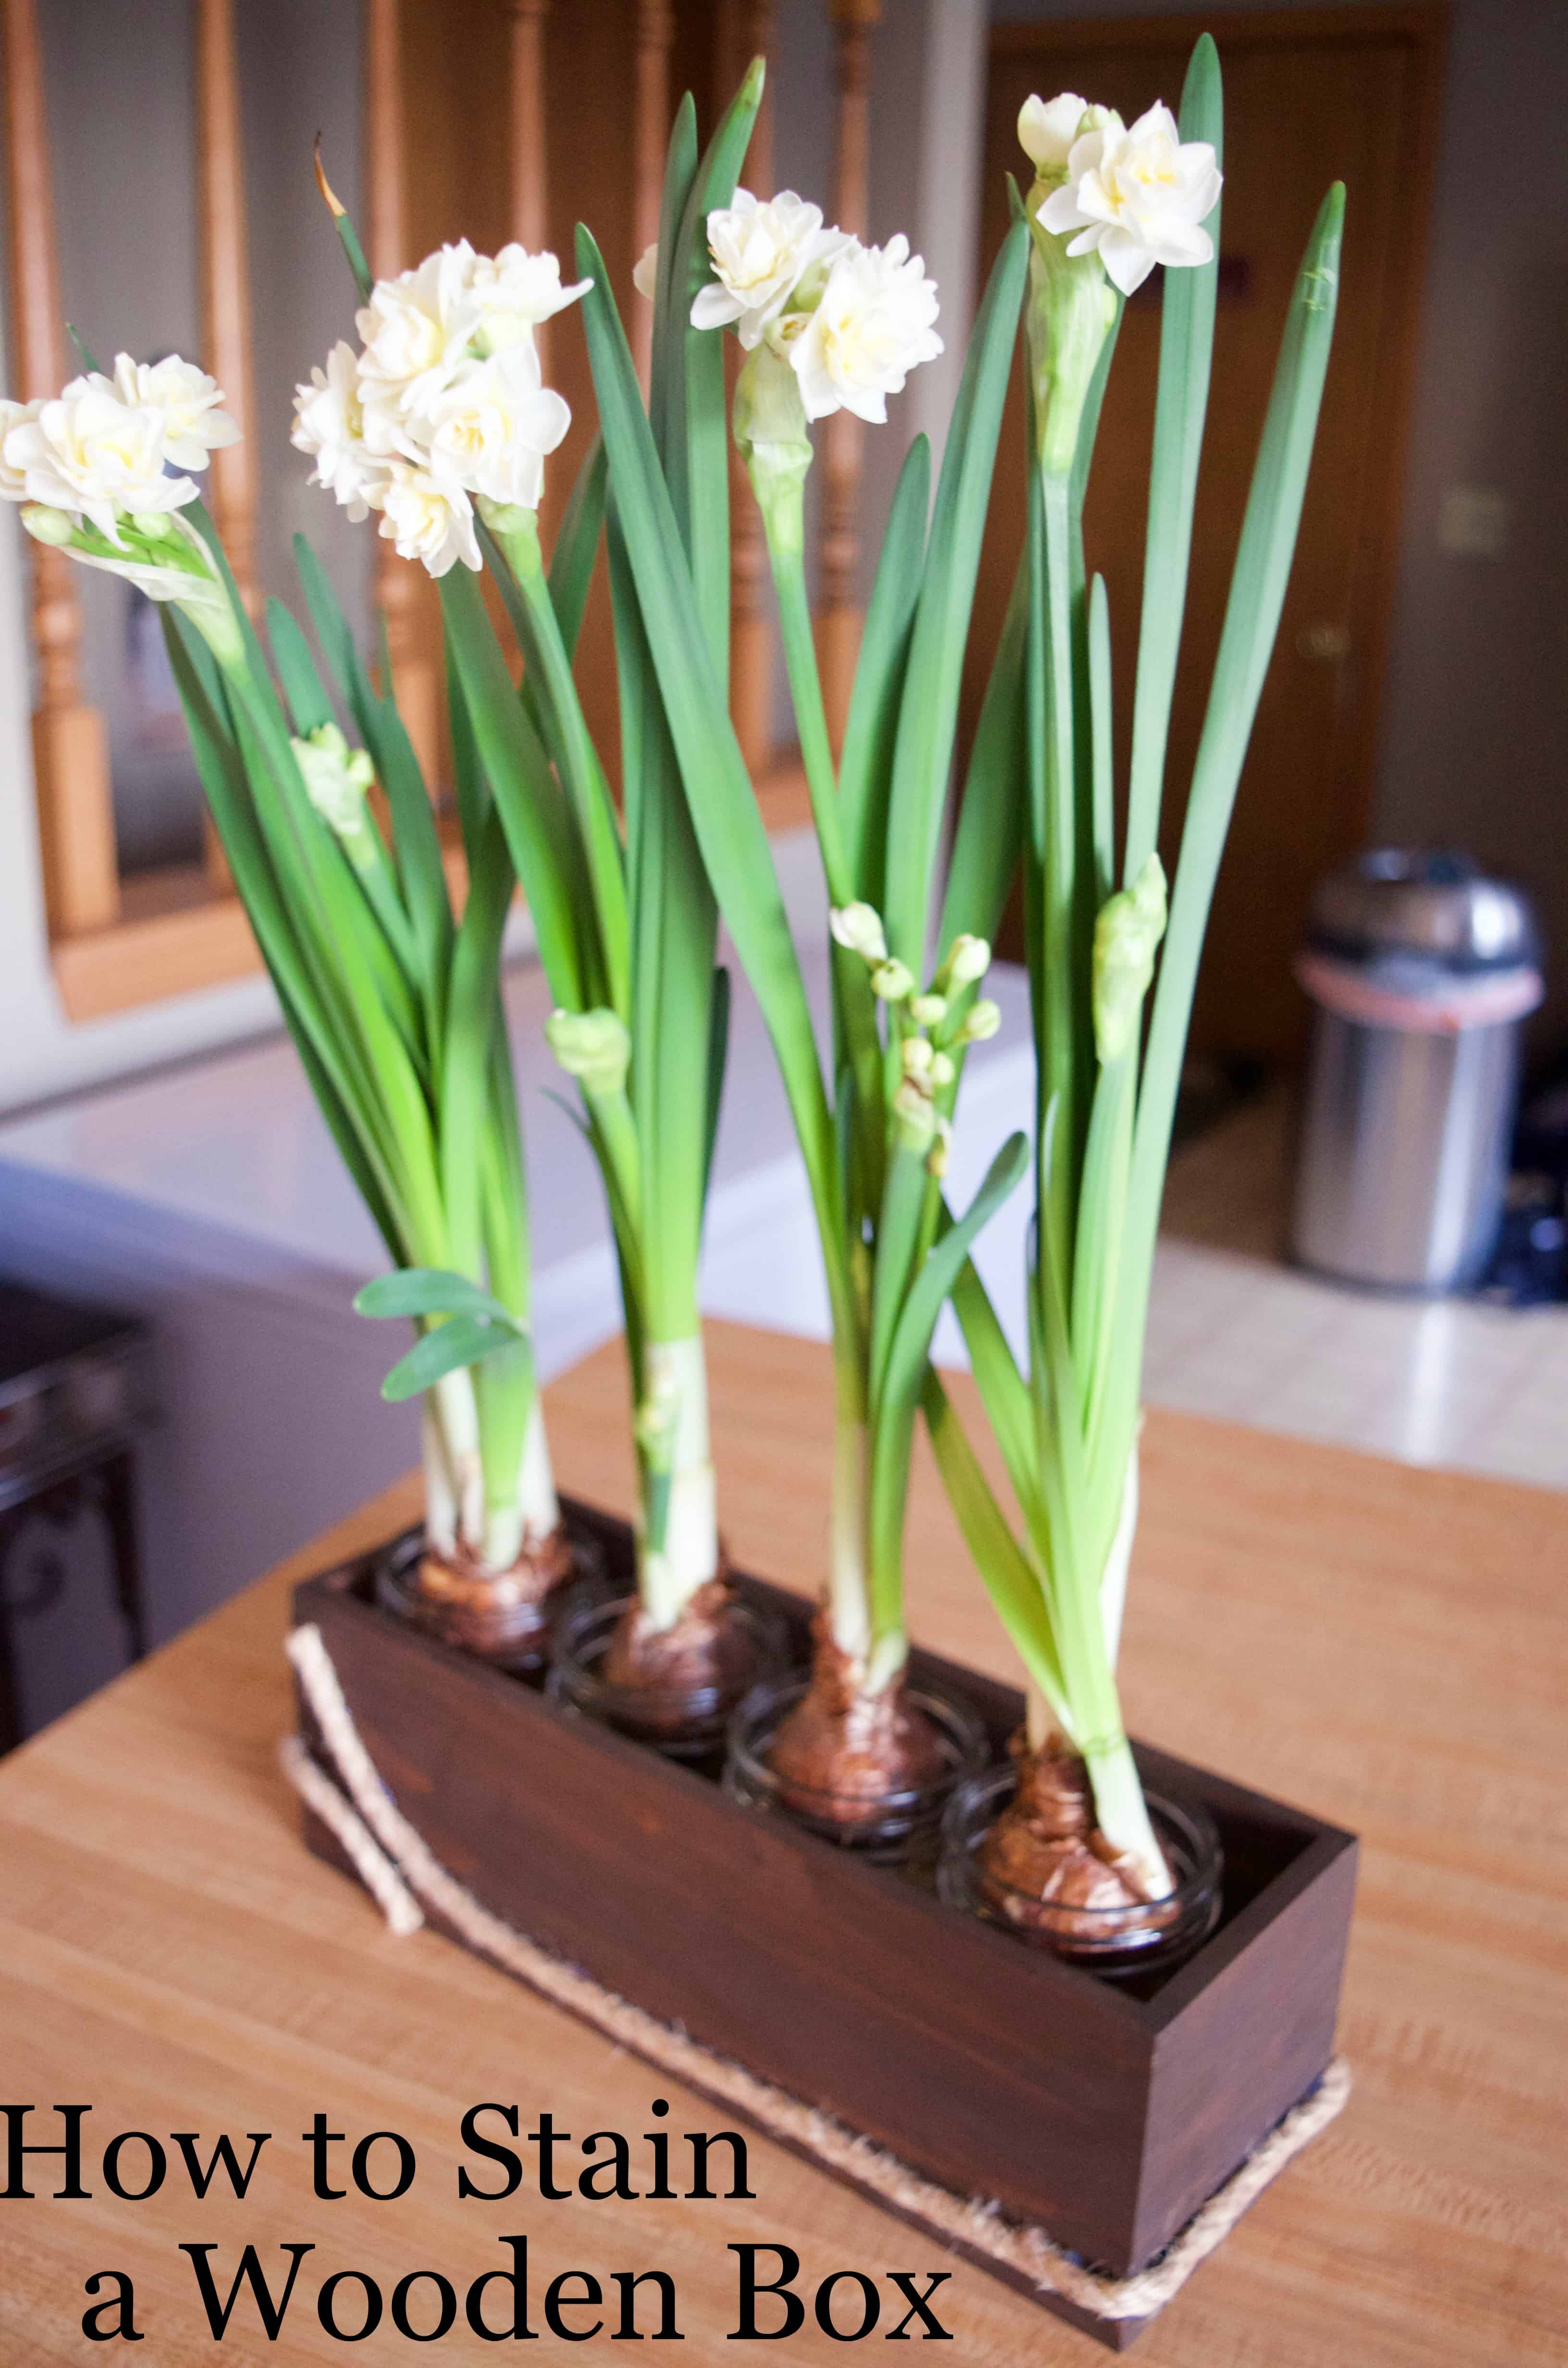
Wooden Planter Box
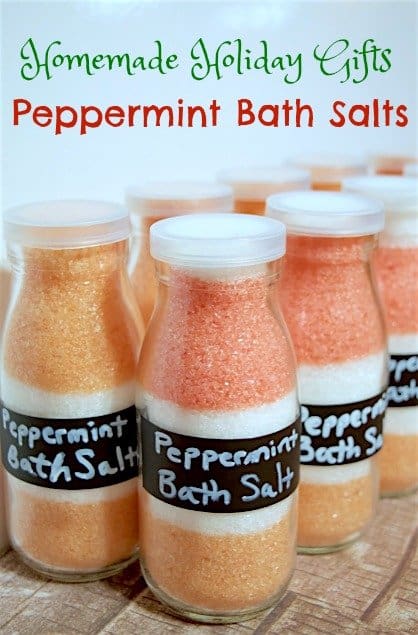
Peppermint Bath Salts
Jaws Shark Soap
Custom Skateboard
Bigfoot gift set
 |
 |
 |

Do you have to use coconut oil? I am allergic to coconut.
You could try almond oil instead!