Fall Autumn Leaf Silhouettes Craft
This post may contain affiliate links, view our disclosure policy for details.
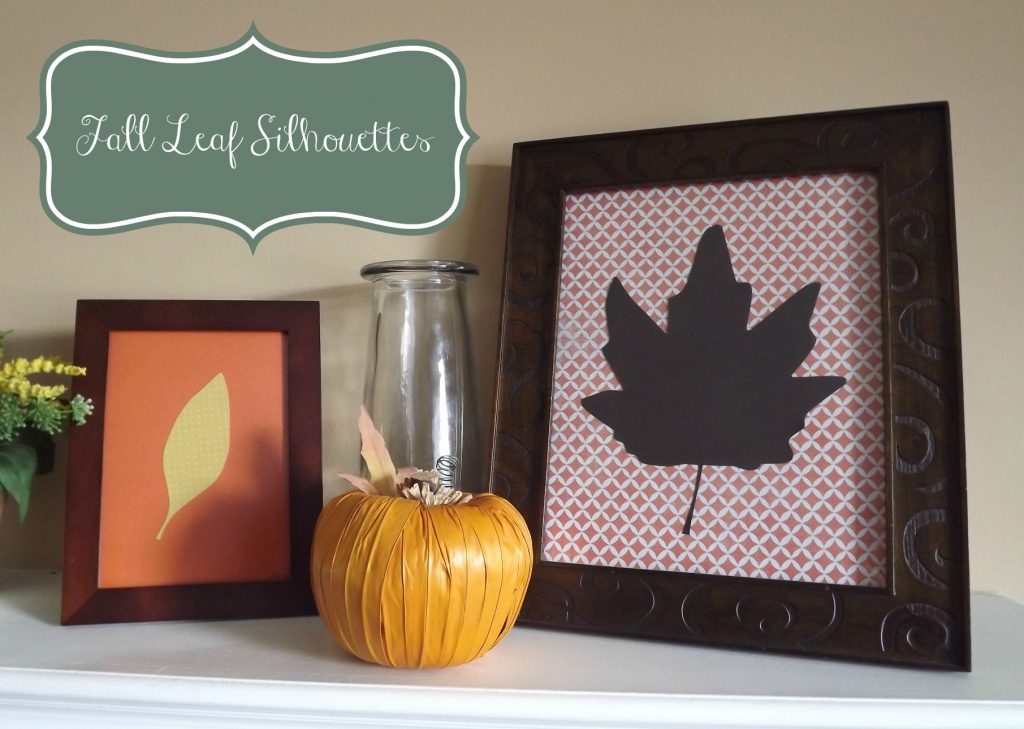
Here’s a great craft for fall and autumn décor that is simple and inexpensive to make. With just a few easy steps you can bring unused picture frames back to life with the colors and shapes so many of us love about fall!
Leaf Silhouettes Materials:
2 pieces of contrasting scrapbook paper (browns, oranges, yellows and reds)
Picture frame
Leaf, real or faux (purchase faux leaves in bulk)
Scissors
Glue stick
Exacto knife (optional)
Pencil
1.) Begin by laying your leaf flat on a piece of scrapbook paper and trace gently.
2.) Cut out the shape of the leaf you traced. If you have a leaf with several small jagged edges it may benefit you to use an exacto knife. Please take your time and use caution if you do this, these knives can be sharp!
3.) Carefully remove the glass from your frame and set it directly on the second piece of scrapbook paper. Trace the glass. Then, use your scissors to cut along your lines to ensure the finished silhouette will fit into your frame. Depending on your frame you may need to cut off an additional centimeter or so.
4.) Use the glue stick to thoroughly coat the backside of the leaf cutout.
5.) Mount your leaf cutout on the second piece of scrapbook paper. Rub flat and allow to dry.
6.) Remove the backing on your picture frame and put the mounted leaf silhouette in the frame as you would a photo.
This leaf silhouette craft can really add color into your house for the fall! If you want to recreate this in the classroom the students can simply glue their colored leaf paper onto the sheet of scrapbook paper or even glue it into a popsicle stick frame!



I love this! I’m gonna have to try it out!