

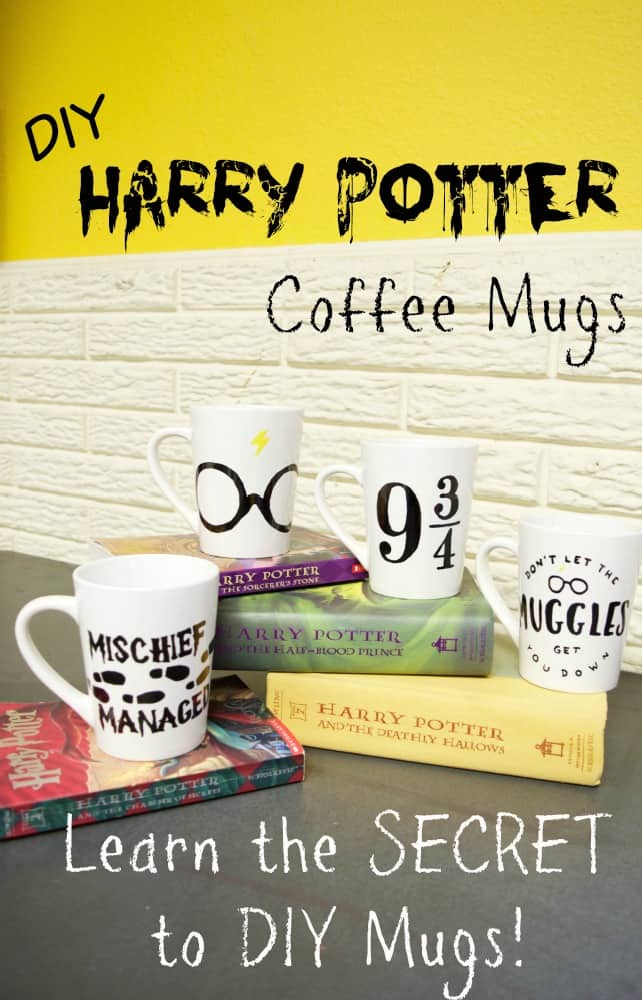
How to Make DIY Harry Potter Coffee Mugs Tutorial
This post may contain affiliate links, view our disclosure policy for details.
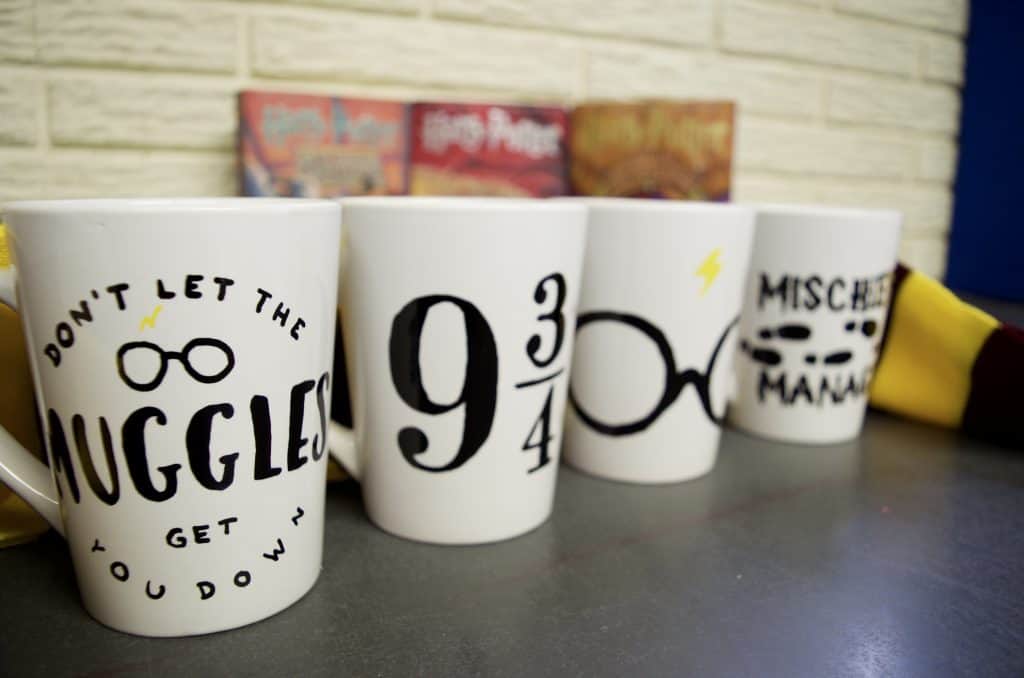
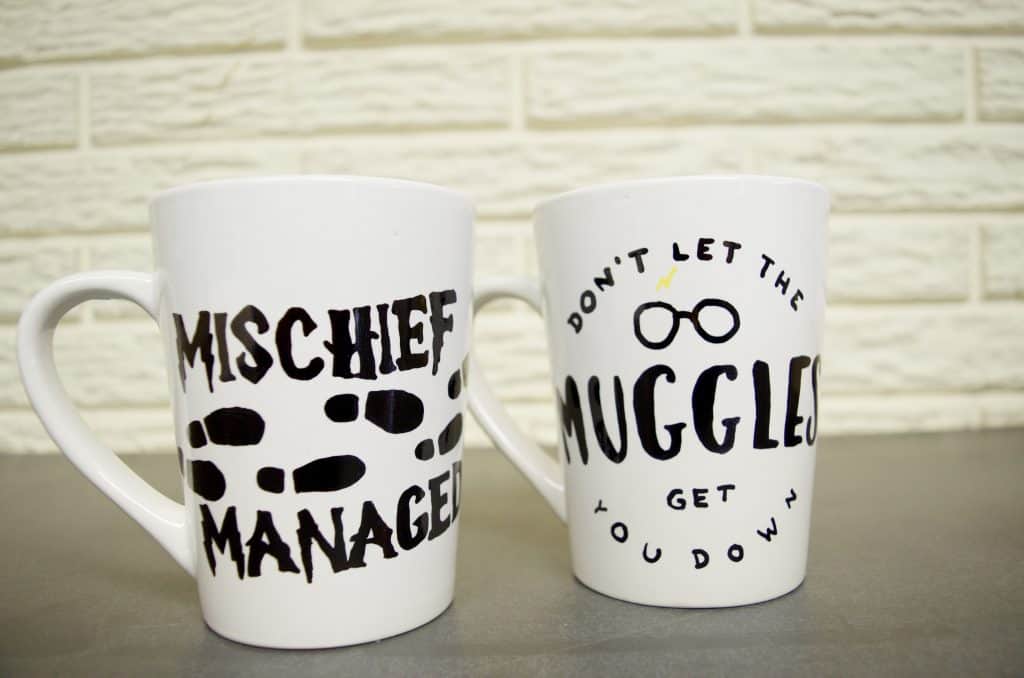
I’ve been dying to try out these DIY Harry Potter coffee mugs and now I’m totally obsessed. I can’t tell you how ridiculously EASY these were! They were the perfect touch to our Harry Potter Holiday House Tour which you HAVE to check out! Follow our simple tutorial below to learn how to make your own diy custom coffee mugs!
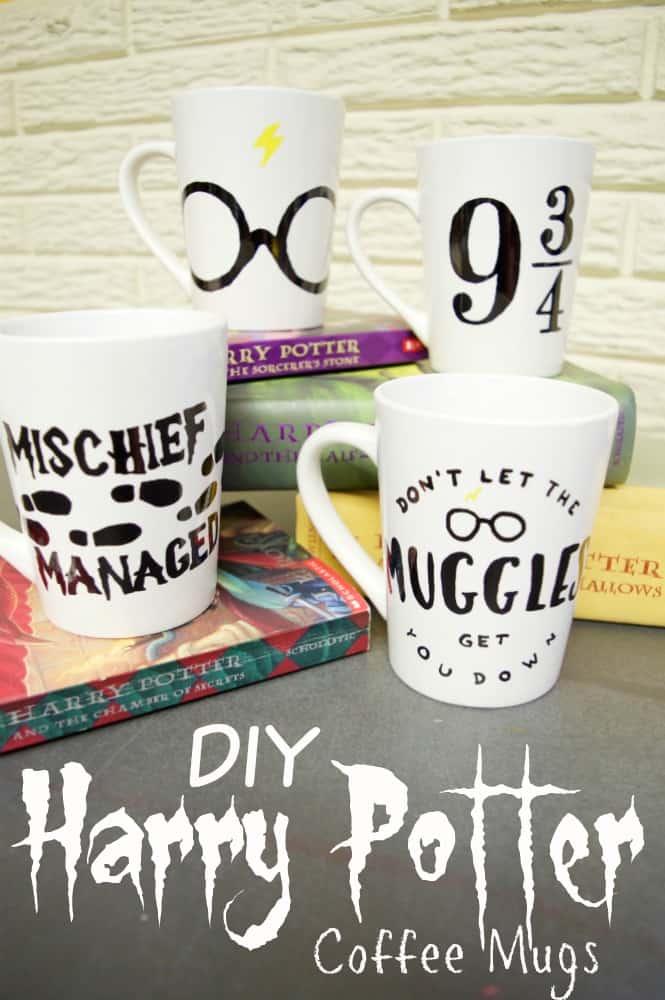
Not only did I literally just trace on my designs without an insane amount of cutting but it only took a couple minutes for each mug! I couldn’t believe it! I only bought 4 mugs but I’m going back to buy a ton more – I can’t wait to make others!! I’m going to tell you the secret I learned in how to make these custom mugs easy peasy!
(I originally had a few Harry Potter mugs on my Christmas wish list but I couldn’t justify someone spending $20 on a mug! Now I have a whole slew of Harry Potter coffee mugs for just a few bucks!)
QUICK Video Tutorial – How to Make a DIY Coffee Mug Design:
**TIP** – the Dollar Tree is the CHEAPEST place to buy white coffee mugs!
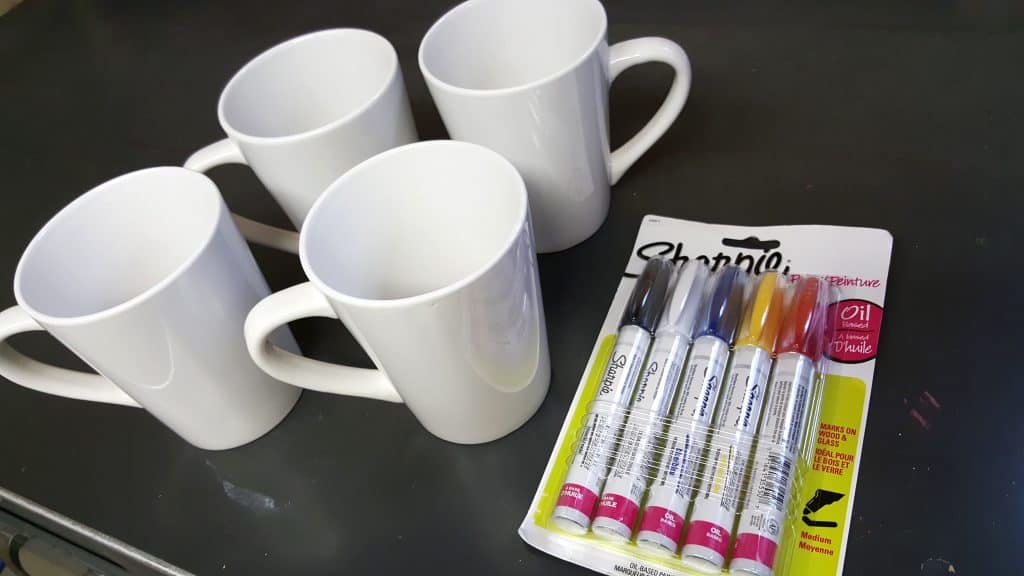
DIY Harry Potter Mug Materials:
*cheap mugs (I paid $1 each at the Dollar Tree – you can buy them in bulk online.)
*Sharpie markers – you need OIL BASED Sharpie markers
*White Paper
*Pencil
DON’T MISS the next step – this is the KEY to it all!!!

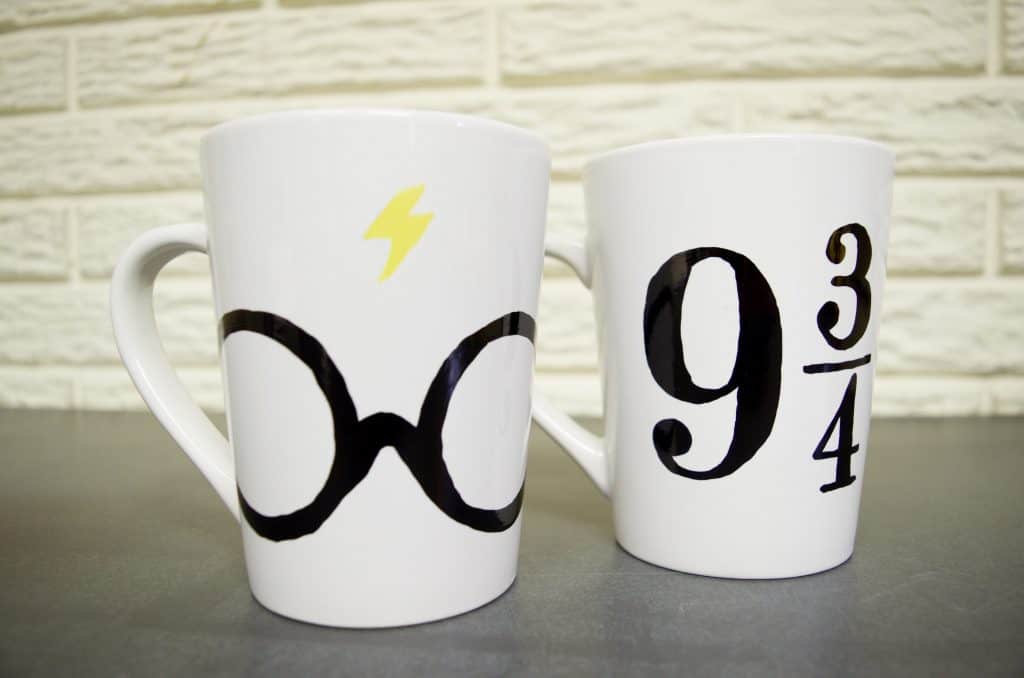
Once you have decided what you want your mug to look like print a photo of it online. For my mugs I wanted Harry Potter themed mugs so I started by searching for the “9 3/4” image that I wanted. I printed a few sizes, figured out which one fit best for my mug, and then cut around the image.
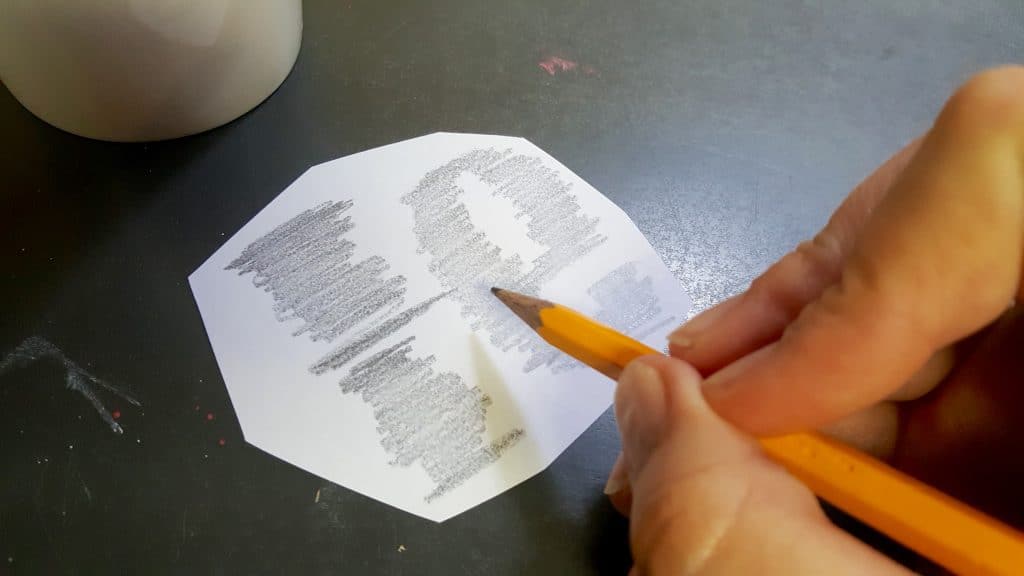
**MOST IMPORTANT PART** – Using a pencil shade the BACK of your image like you see above. Essentially you will be tracing and transferring that pencil lead onto your mug.
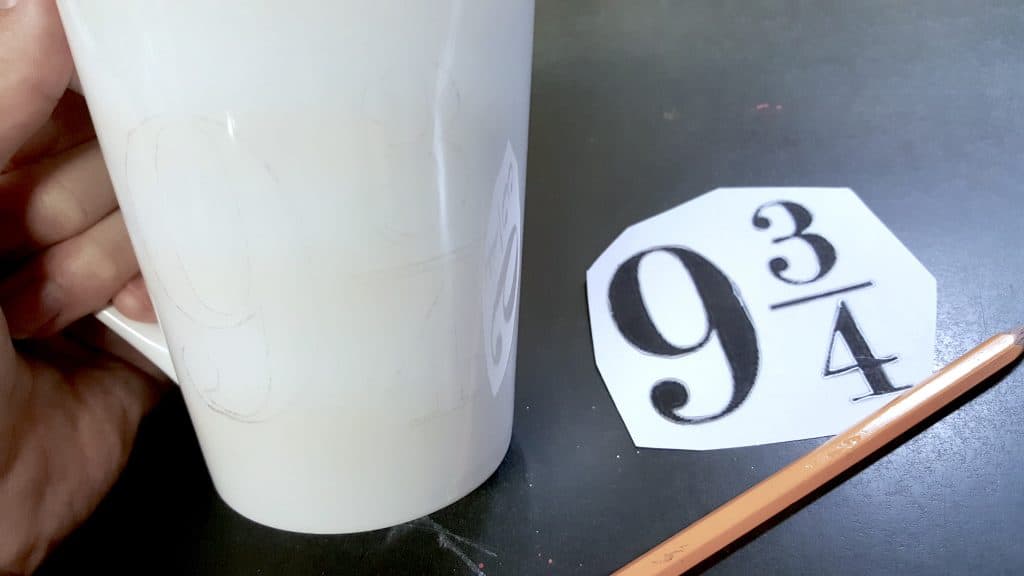
Hold or tape your image onto your mug so it is firmly in one place and simply trace your image. You can see on the right side where I traced over the 9 3/4. Since I had shaded pencil on the back of the paper the lead was transferred right onto my mug! No cutting needed! It’s a little hard to see in the photo above but if you look carefully you can make out the transfer. Then simply fill it in with the color Sharpie oil marker that you want!
A few DIY Mug Tips:
*Let your mug sit overnight to dry helping the oil based marker bond better to the mug. (although if you REALLY had to in a pinch you could let it sit for an hour)
*Place your mug(s) in a regular temp oven and then turn it on to 325* for 1 hour. You need to have the mugs IN your oven BEFORE you pre-heat to prevent unnecessary cracking. It needs to heat up evenly and not be shocked into temperature or it could crack and shatter. Same thing when you turn your oven off – let the oven cool down WITH the mugs inside. Don’t remove them until your oven and mugs are completely cool.
*Hand wash only! Although some people put their mugs in the dishwasher I still recommend hand washing as much as possible to keep your mug nicer longer!
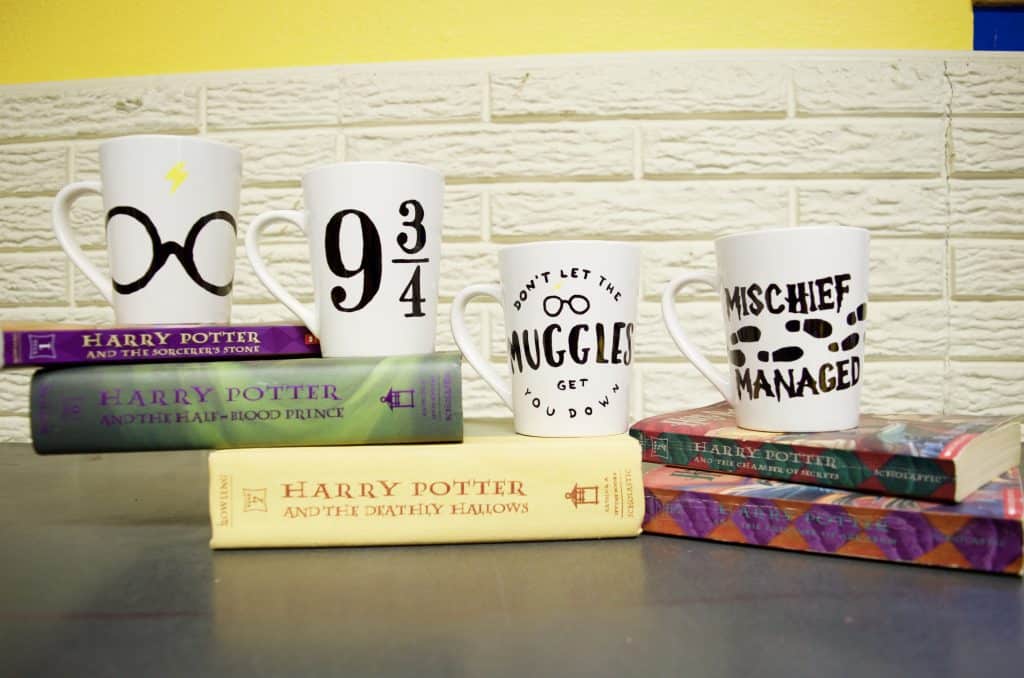
Seriously – with this method the ideas are truly ENDLESS! You can make all of your favorite book characters, movie quotes, patterns, or any other designs that you want to create for yourself! This would make an AWESOME tween/teen party/craft idea too!
If you’re like me and you’ve tried free hand writing things on mugs and they’ve ended in disaster – this is an amazing way to make your mugs look awesome! I’ve had so many comments that these mugs look like they were printed or made with a Silhouette Cameo machine. Once I had my images printed it took my less than 15 minutes to make ALL 4 of these mugs. I finished them while my kids were playing!
Have you ever made your own mugs? Do you have any other tips or design ideas? I’d LOVE to hear about it! I’m pretty sure everyone I know will be getting coffee mugs soon……
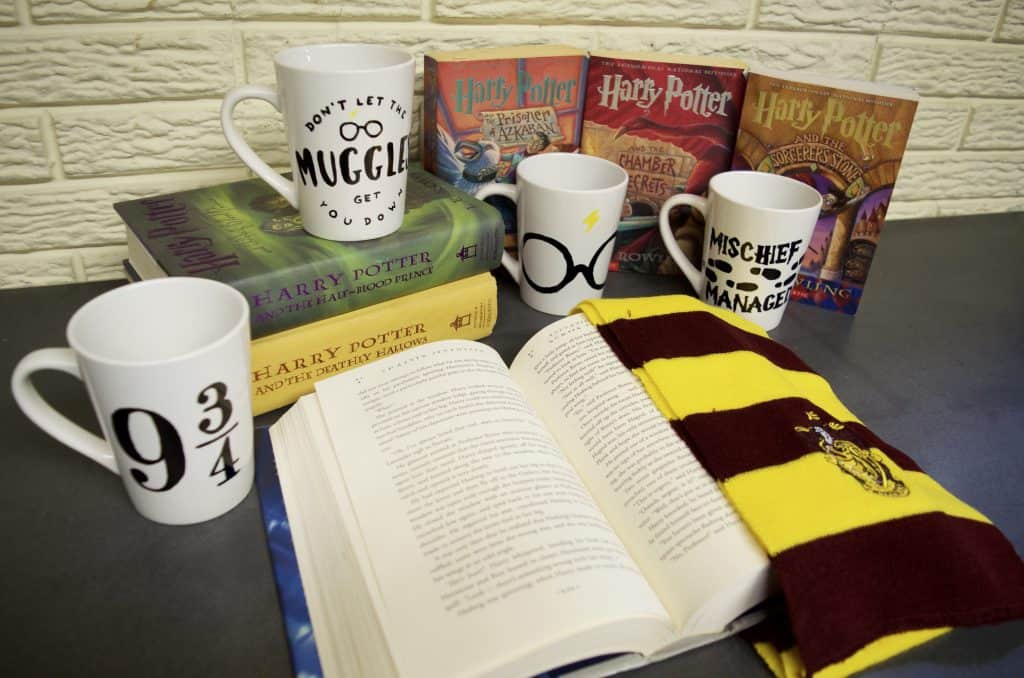
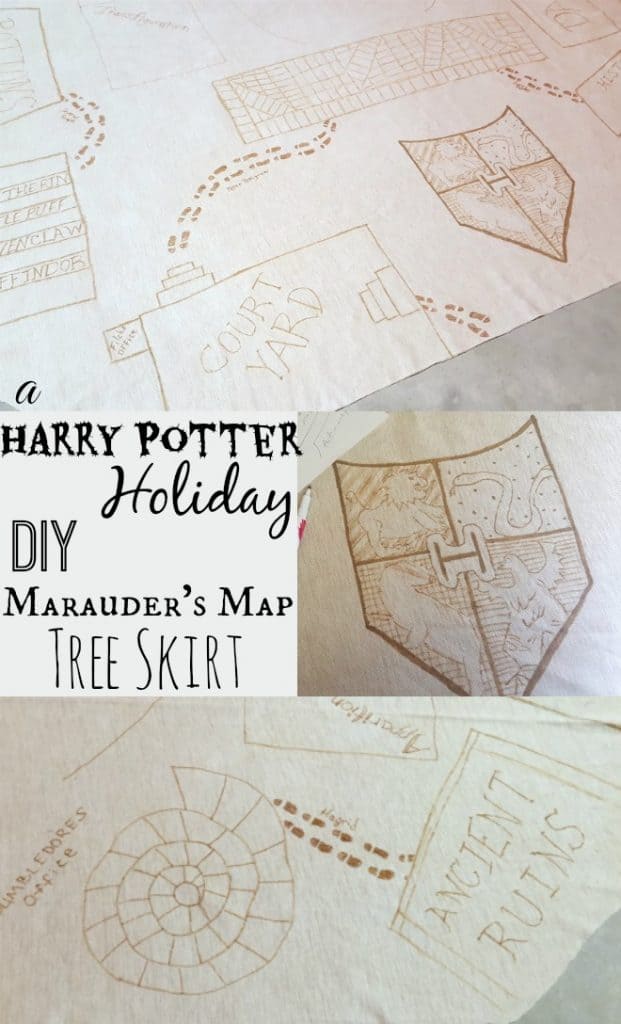
Check out our other DIY Harry Potter Tutorials! MORE coming soon! You can also use our Potions Jar & Potions Book tutorials for Harry Potter themed decorations! And don’t forget to check out our Harry Potter Holiday House Tour complete with CHEAP HP pillow covers, DIY decor, Dobby artwork, and SO much more!
 |
 |
 |
Popular Harry Potter Gifts:
These are awesome! How did you get the markings to stay in the bottom of the mug that looks like the tea leaves and not have it rub off or come off when there was hot liquids in it?
I did not put any marker inside of the mug – only on the outside.
Thanks for the very important tip about using oil based sharpies. I had tried my hand at making these mugs for a thank you gift for my adult volunteers at Harry Potter Camp with regular sharpies and it was not at all successful. Your mugs look wonderful!
You’re welcome! Remember to hand wash it too! 🙂
Love this idea. So cool 😀 And you’re right. Endless options.
So cute! Great idea!!
Great idea! I might try it…always love to try something new. Happy Summer, Kippi
Brilliant as Harry would say! I was hooked on Harry from the first sentence when my husband brough home the first book from a book fair and I read it to our son. LOVE these and featuring when my link party opens up tonight!
you mentioned in your tips you put the mug in the oven. why and when do I do that?
Just to help set the ink a little bit better. You don’t HAVE to though! Especially if you hand wash only.