

DIY Monogrammed Wall Decor Tutorial
This post may contain affiliate links, view our disclosure policy for details.
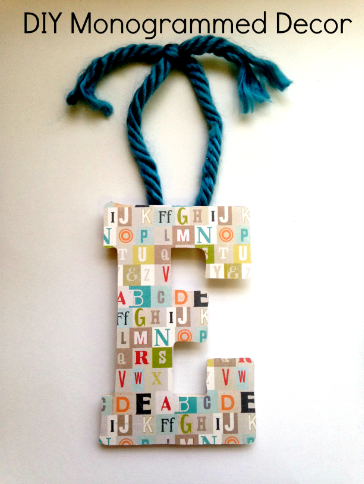
If you are looking for a stylish way to decorate your child’s room or play space, this monogrammed wall hanging is the perfect solution. With just a few dollars’ worth of supplies, you can craft your own monogrammed wall hanging just like the one you see here. Plus, you can use any scrapbook paper you wish giving it a theme or color combo that works for your space. Here is how you can get started.
Supplies needed:
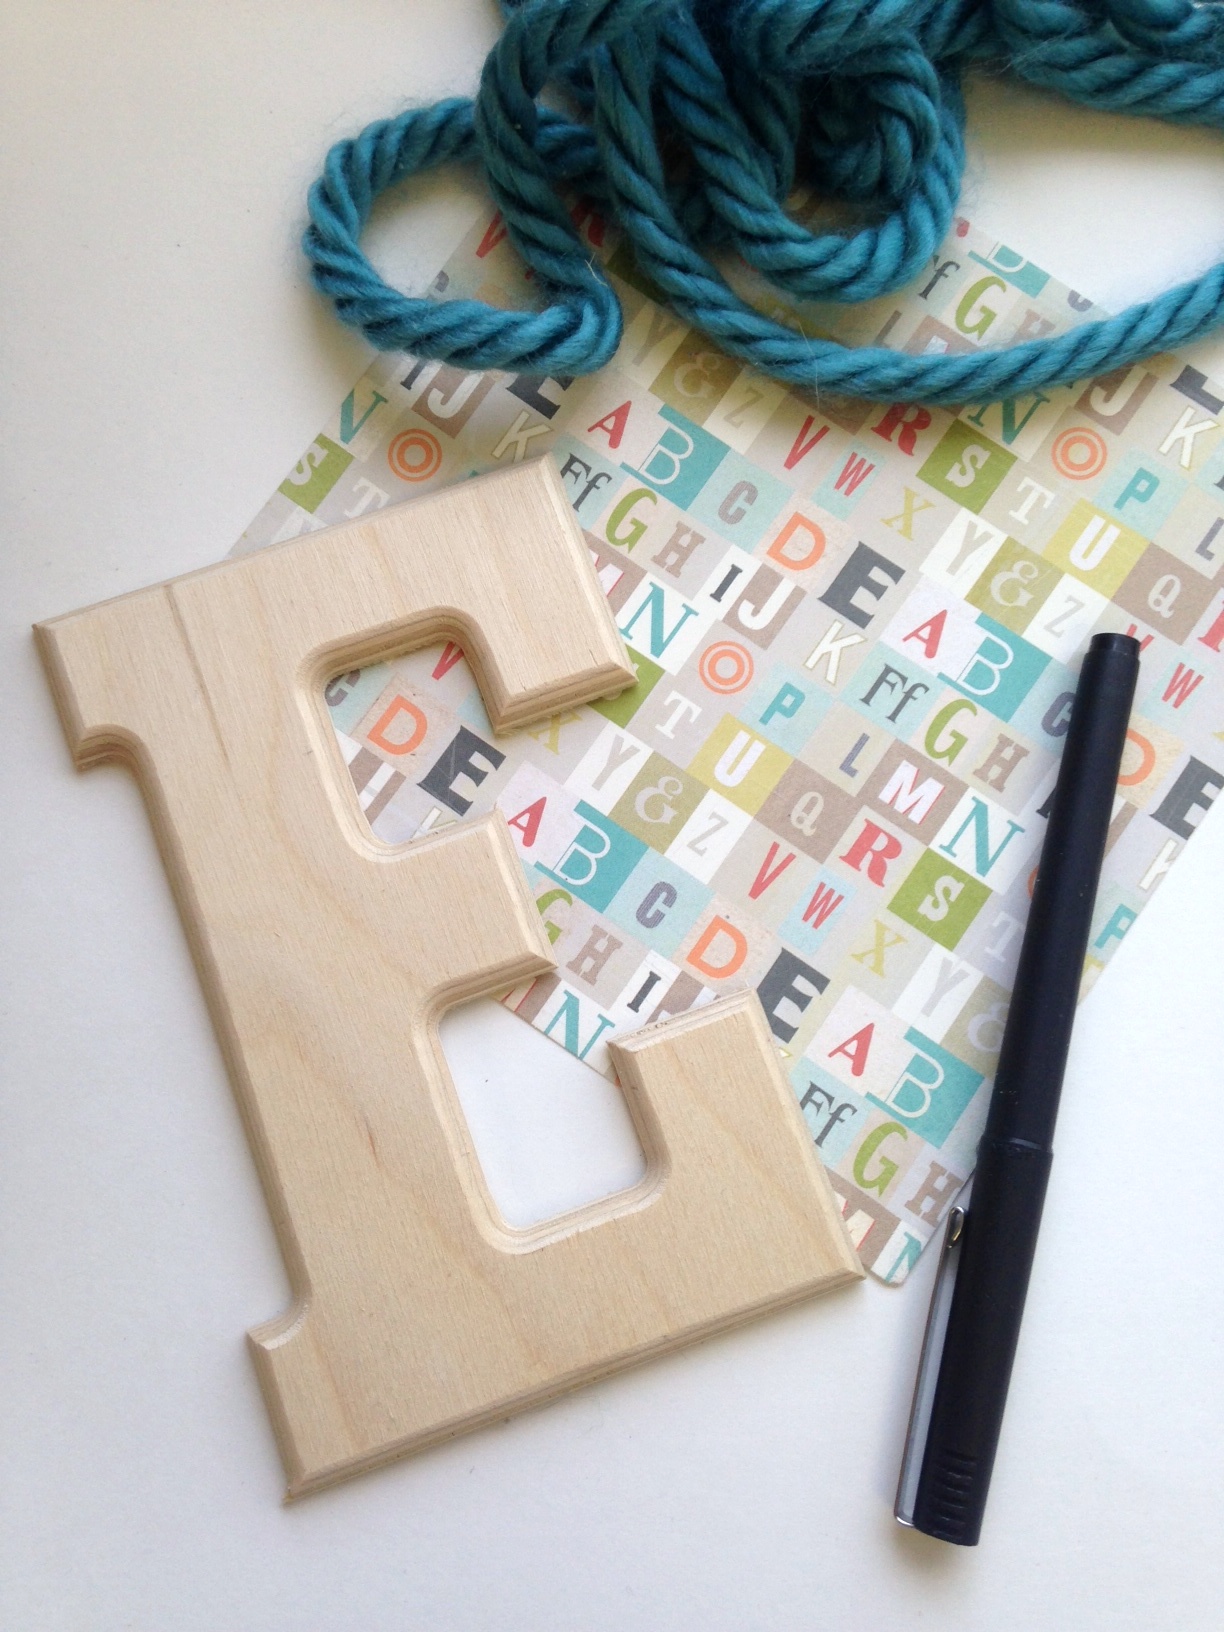
Wooden letter
Scrapbook paper in choice if color/pattern
Pen or pencil
Scissors
Craft glue
Staple gun
Ribbon or yarn for hanging
Mod Podge
Paint brush (optional)
We found a wooden letter like the one you see here for just $1.50 at our local craft store. (I’ve seen them cheaper at Walmart!) Choose a style and size that works for you!
Directions:
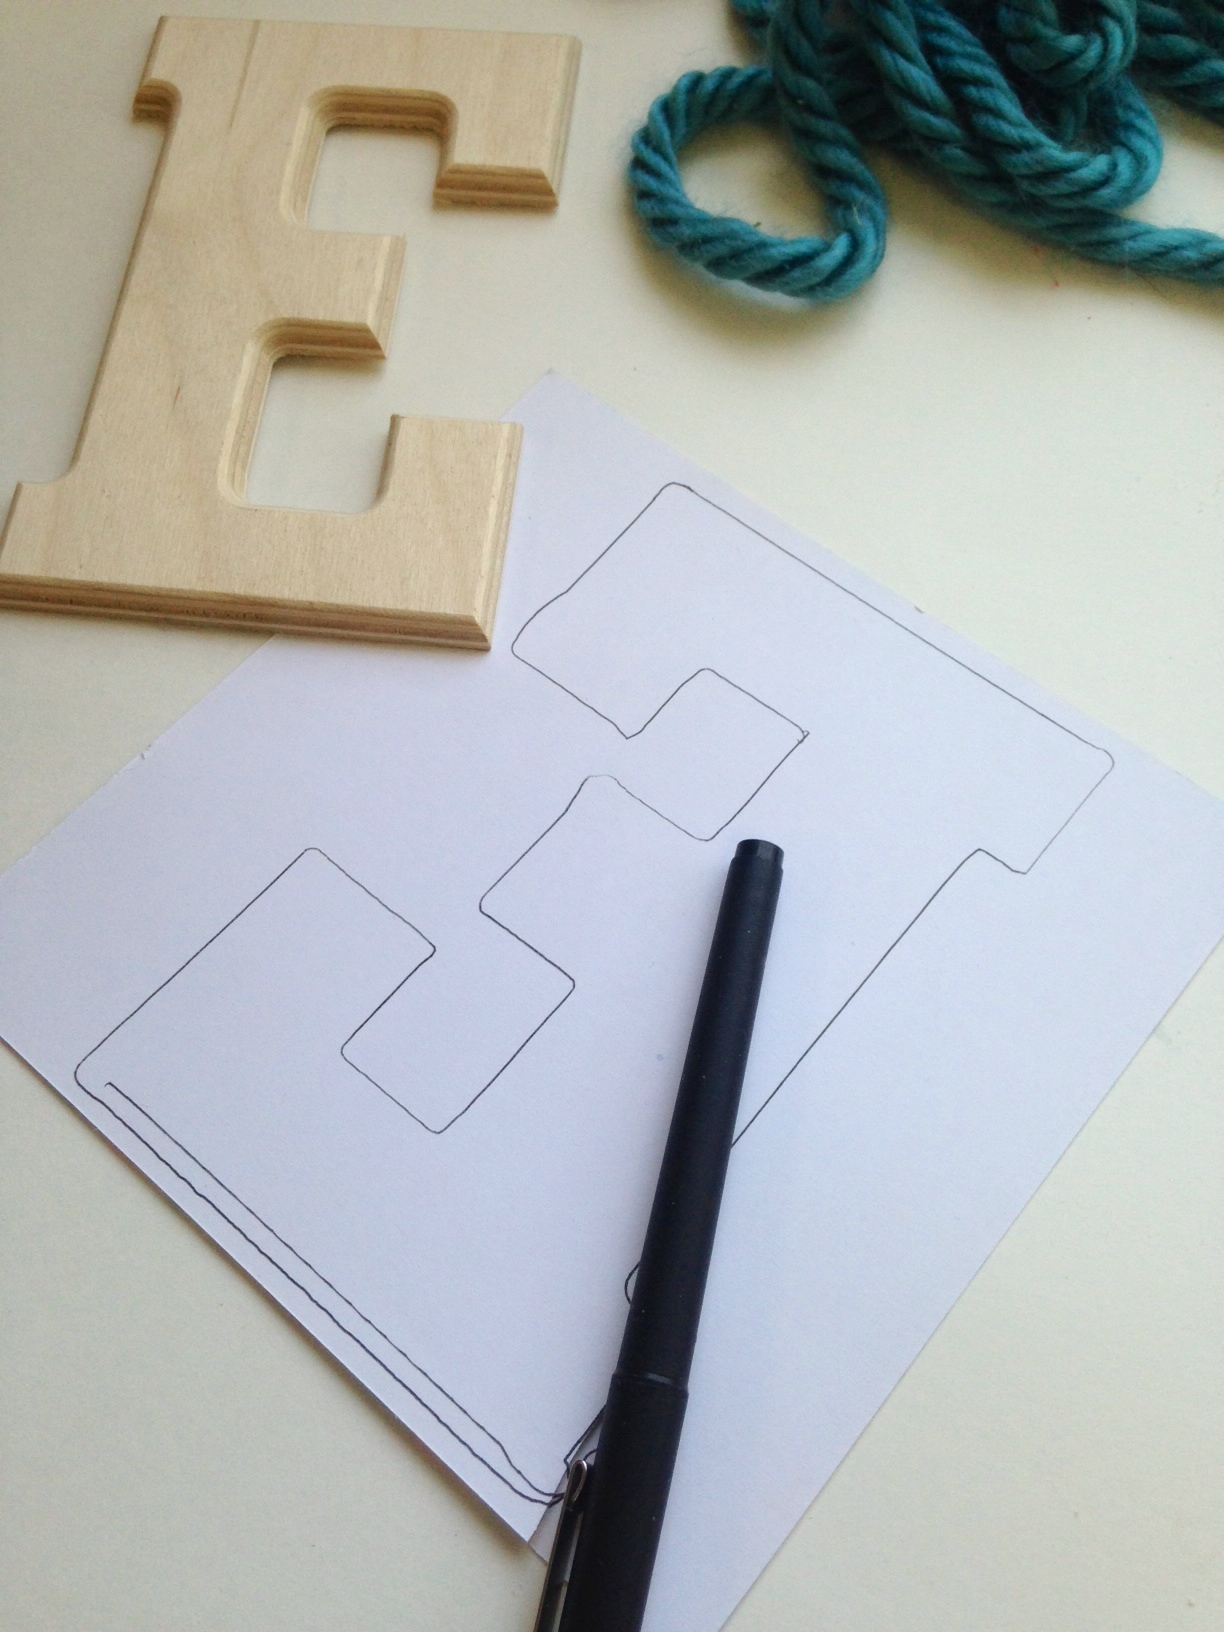
1. Begin by turning the scrapbook paper over so the back side is exposed.
2. Place the letter down on the paper and trace with your pen or pencil.
3. Cut out the tracing carefully. It should now fit nicely on top of the letter.
4. Add a little craft glue to the back of the scrapbook paper. Press it to the letter and smooth your finger over it to remove any wrinkles.
5. OPTIONAL: Cover the paper in a layer of Mod Podge so help protect it. This isn’t necessary but can offer an extra layer of protection and even a shiny finish if you wish.
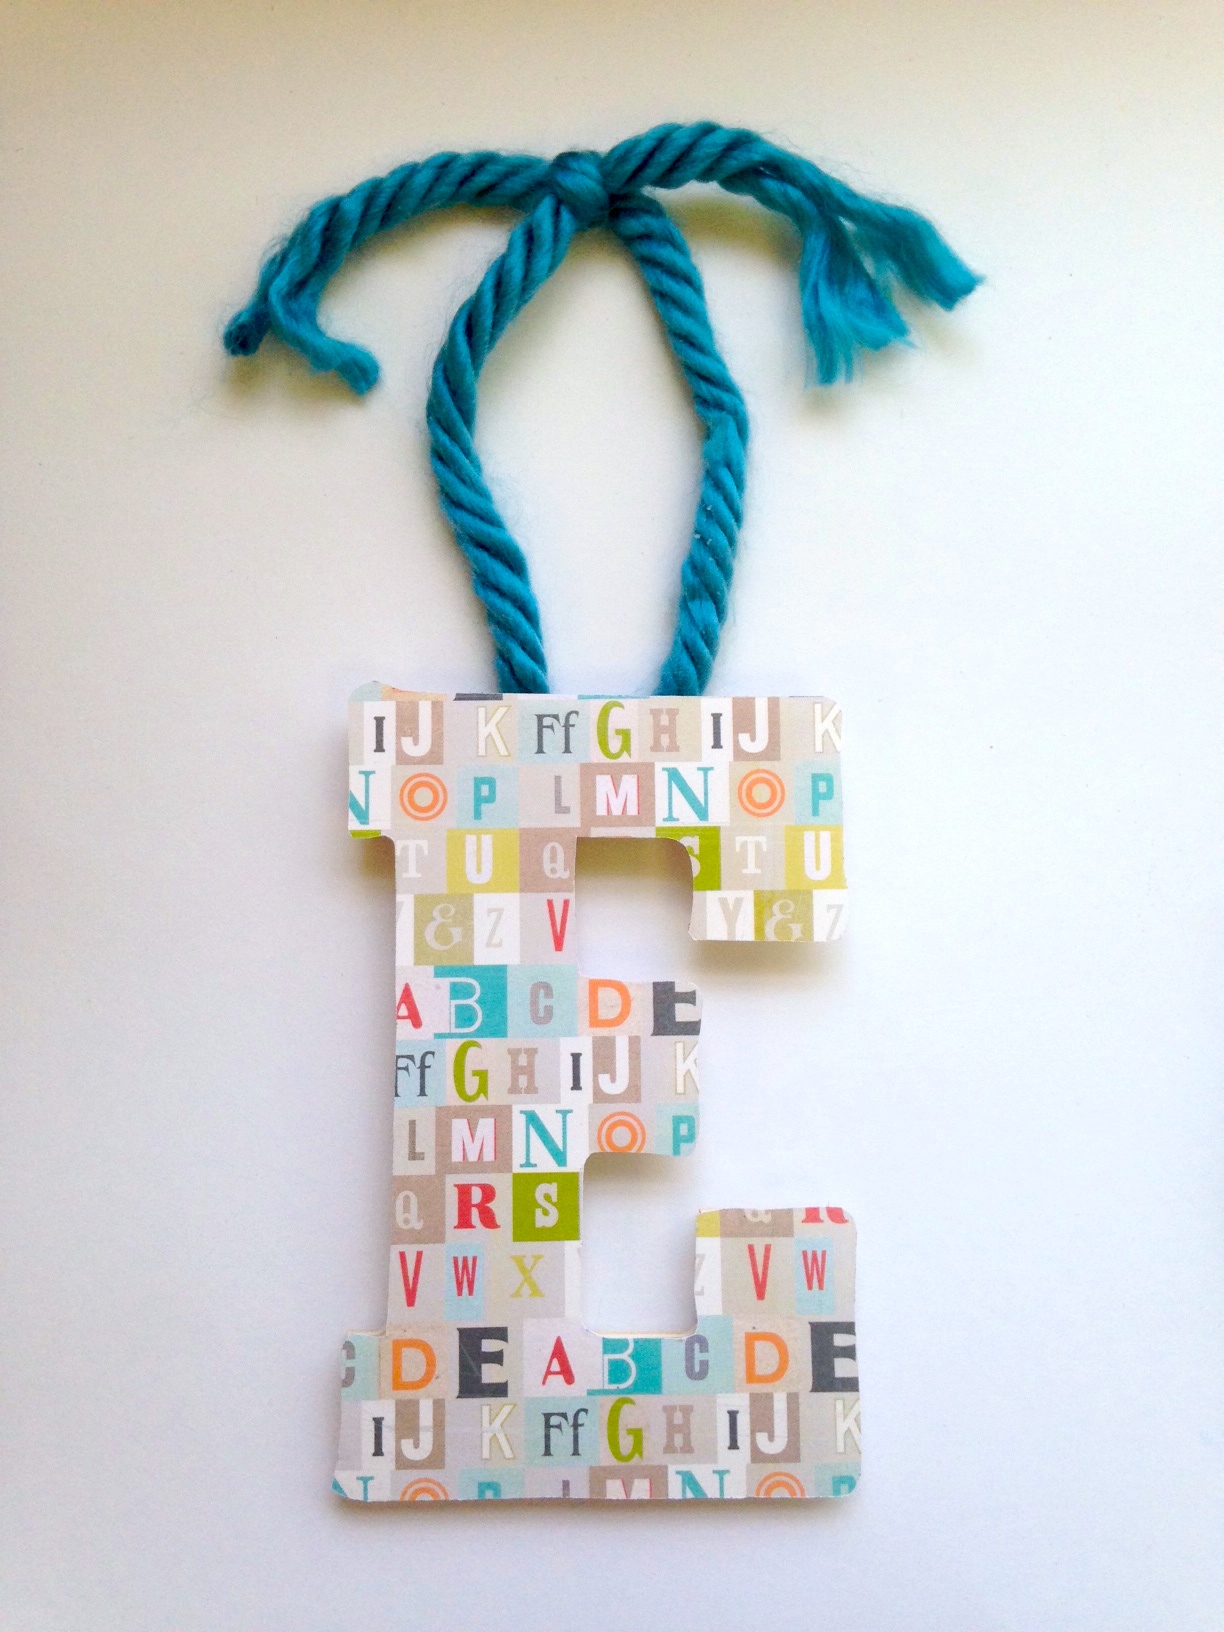
6. Cut a length of yarn or ribbon and use a staple gun to secure it to the back of the letter. Tie the yarn or ribbon into a ribbon for hanging.
Your monogrammed letter is now ready to be displayed! Hang it on a bedroom door, in a children’s play space, or anywhere you can use some extra charm. It also makes a thoughtful little gift.
