Christmas Elf Brown Paper Bag Craft for Kids
This post may contain affiliate links, view our disclosure policy for details.
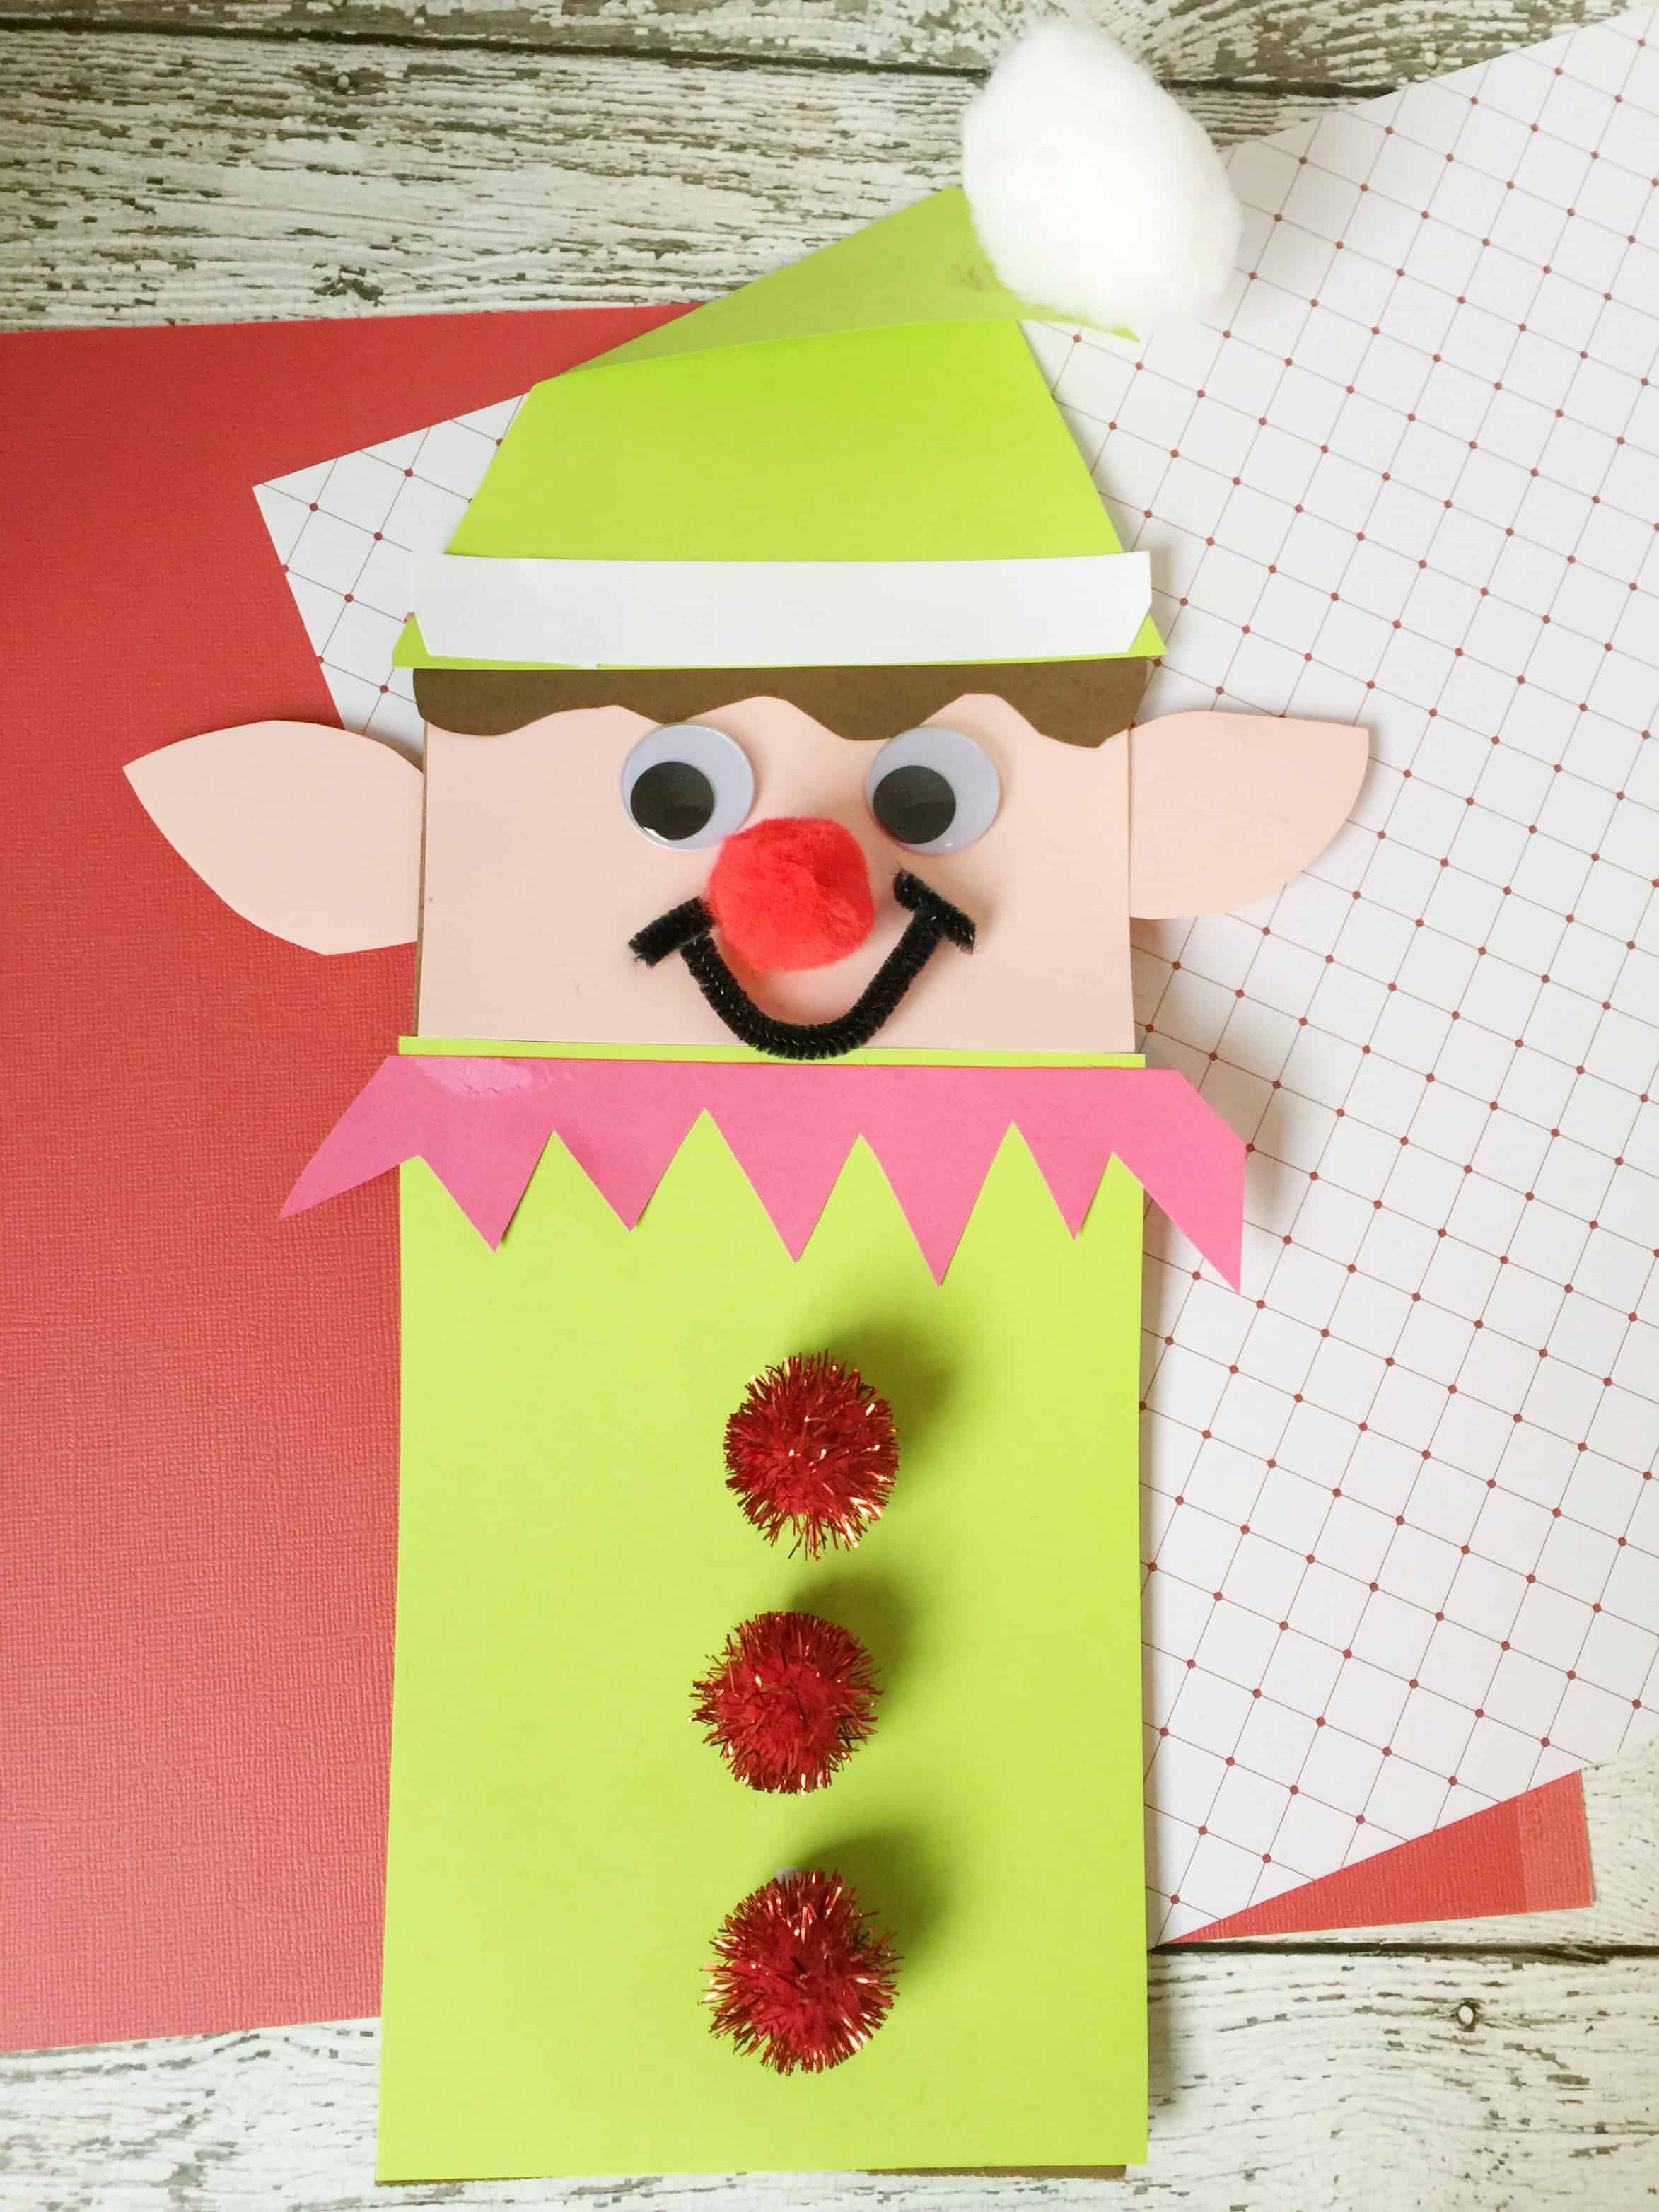
There are SO many festive craft ideas for toddlers and preschool age kids and I just LOVE these adorable Christmas elf ideas! Especially if you are doing Elf on the Shelf with your children. This Christmas Elf Paper Bag craft pairs up great with our Christmas Elf paper plate craft tutorial here.
Christmas Elf Brown Paper Bag Supplies:
1 brown paper lunch bag
Scissors
Glue stick
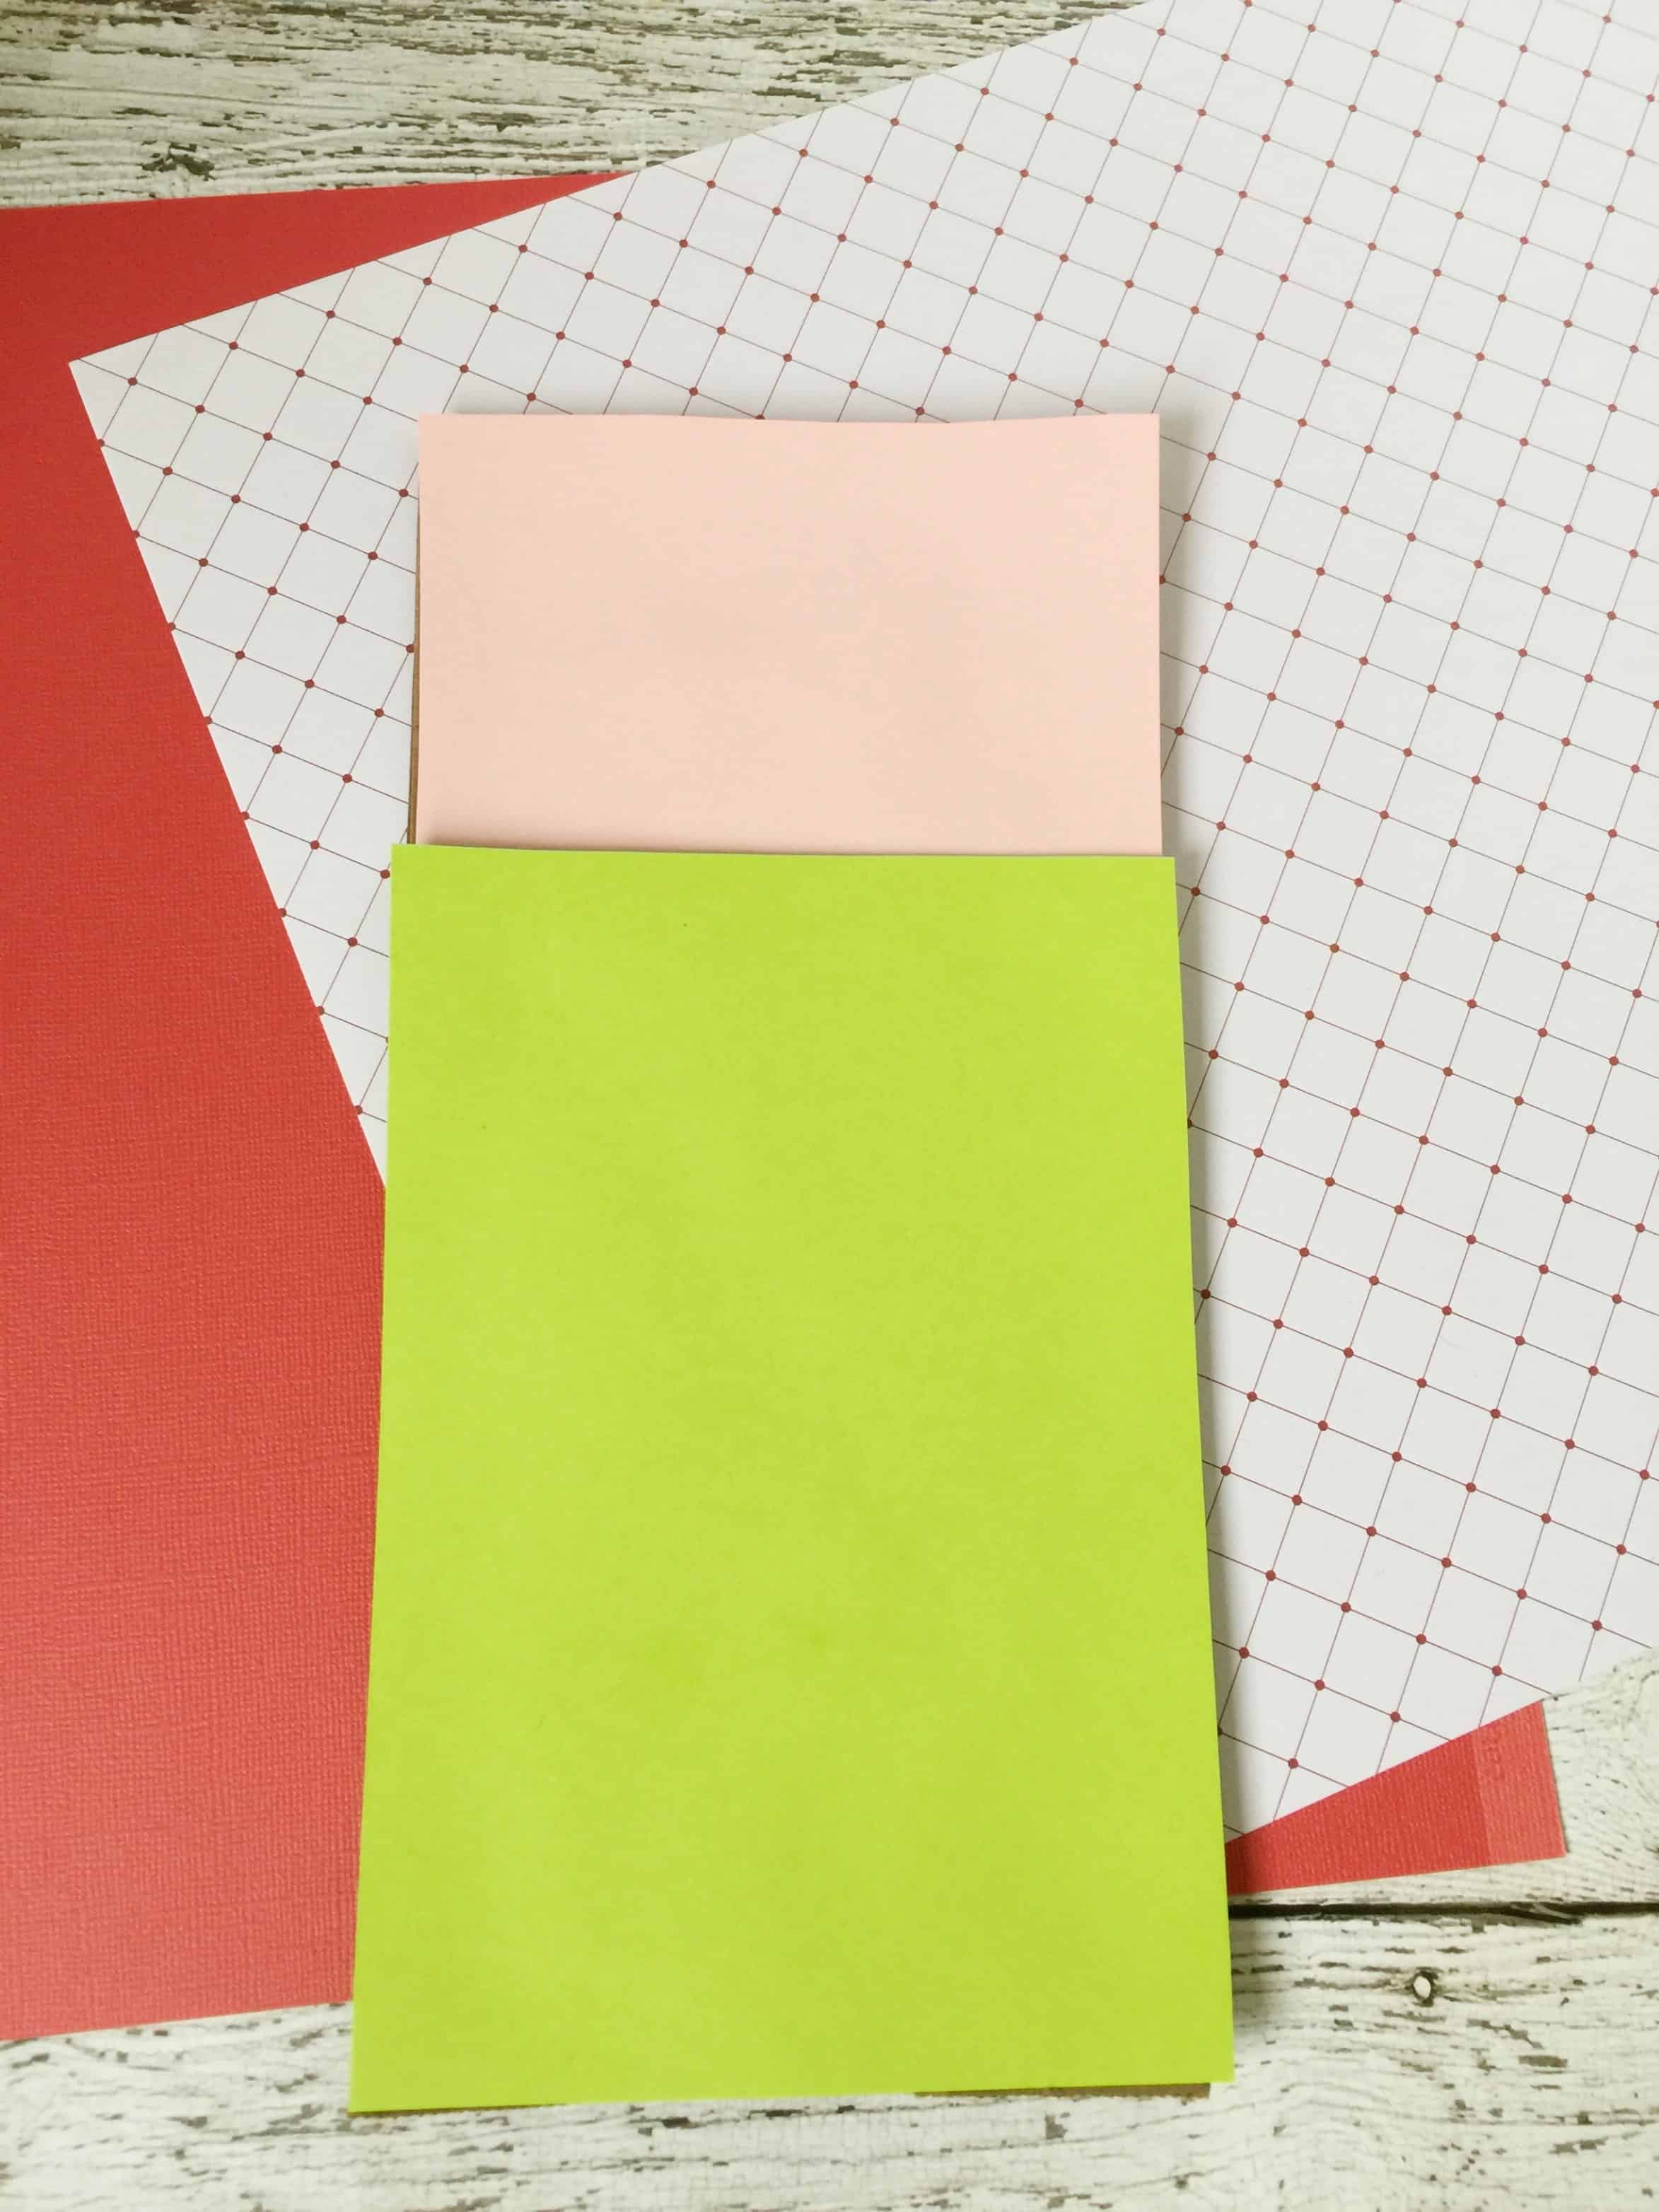
Construction paper: 1 green, 1 red, 1 peach, 1 brown and 1 white
1 large white cotton ball or pom pom
1 medium red pom pom
1 black pipe cleaner
2 large googly eyes
3 sparkly red pom poms
Christmas Elf Brown Paper Bag Directions:
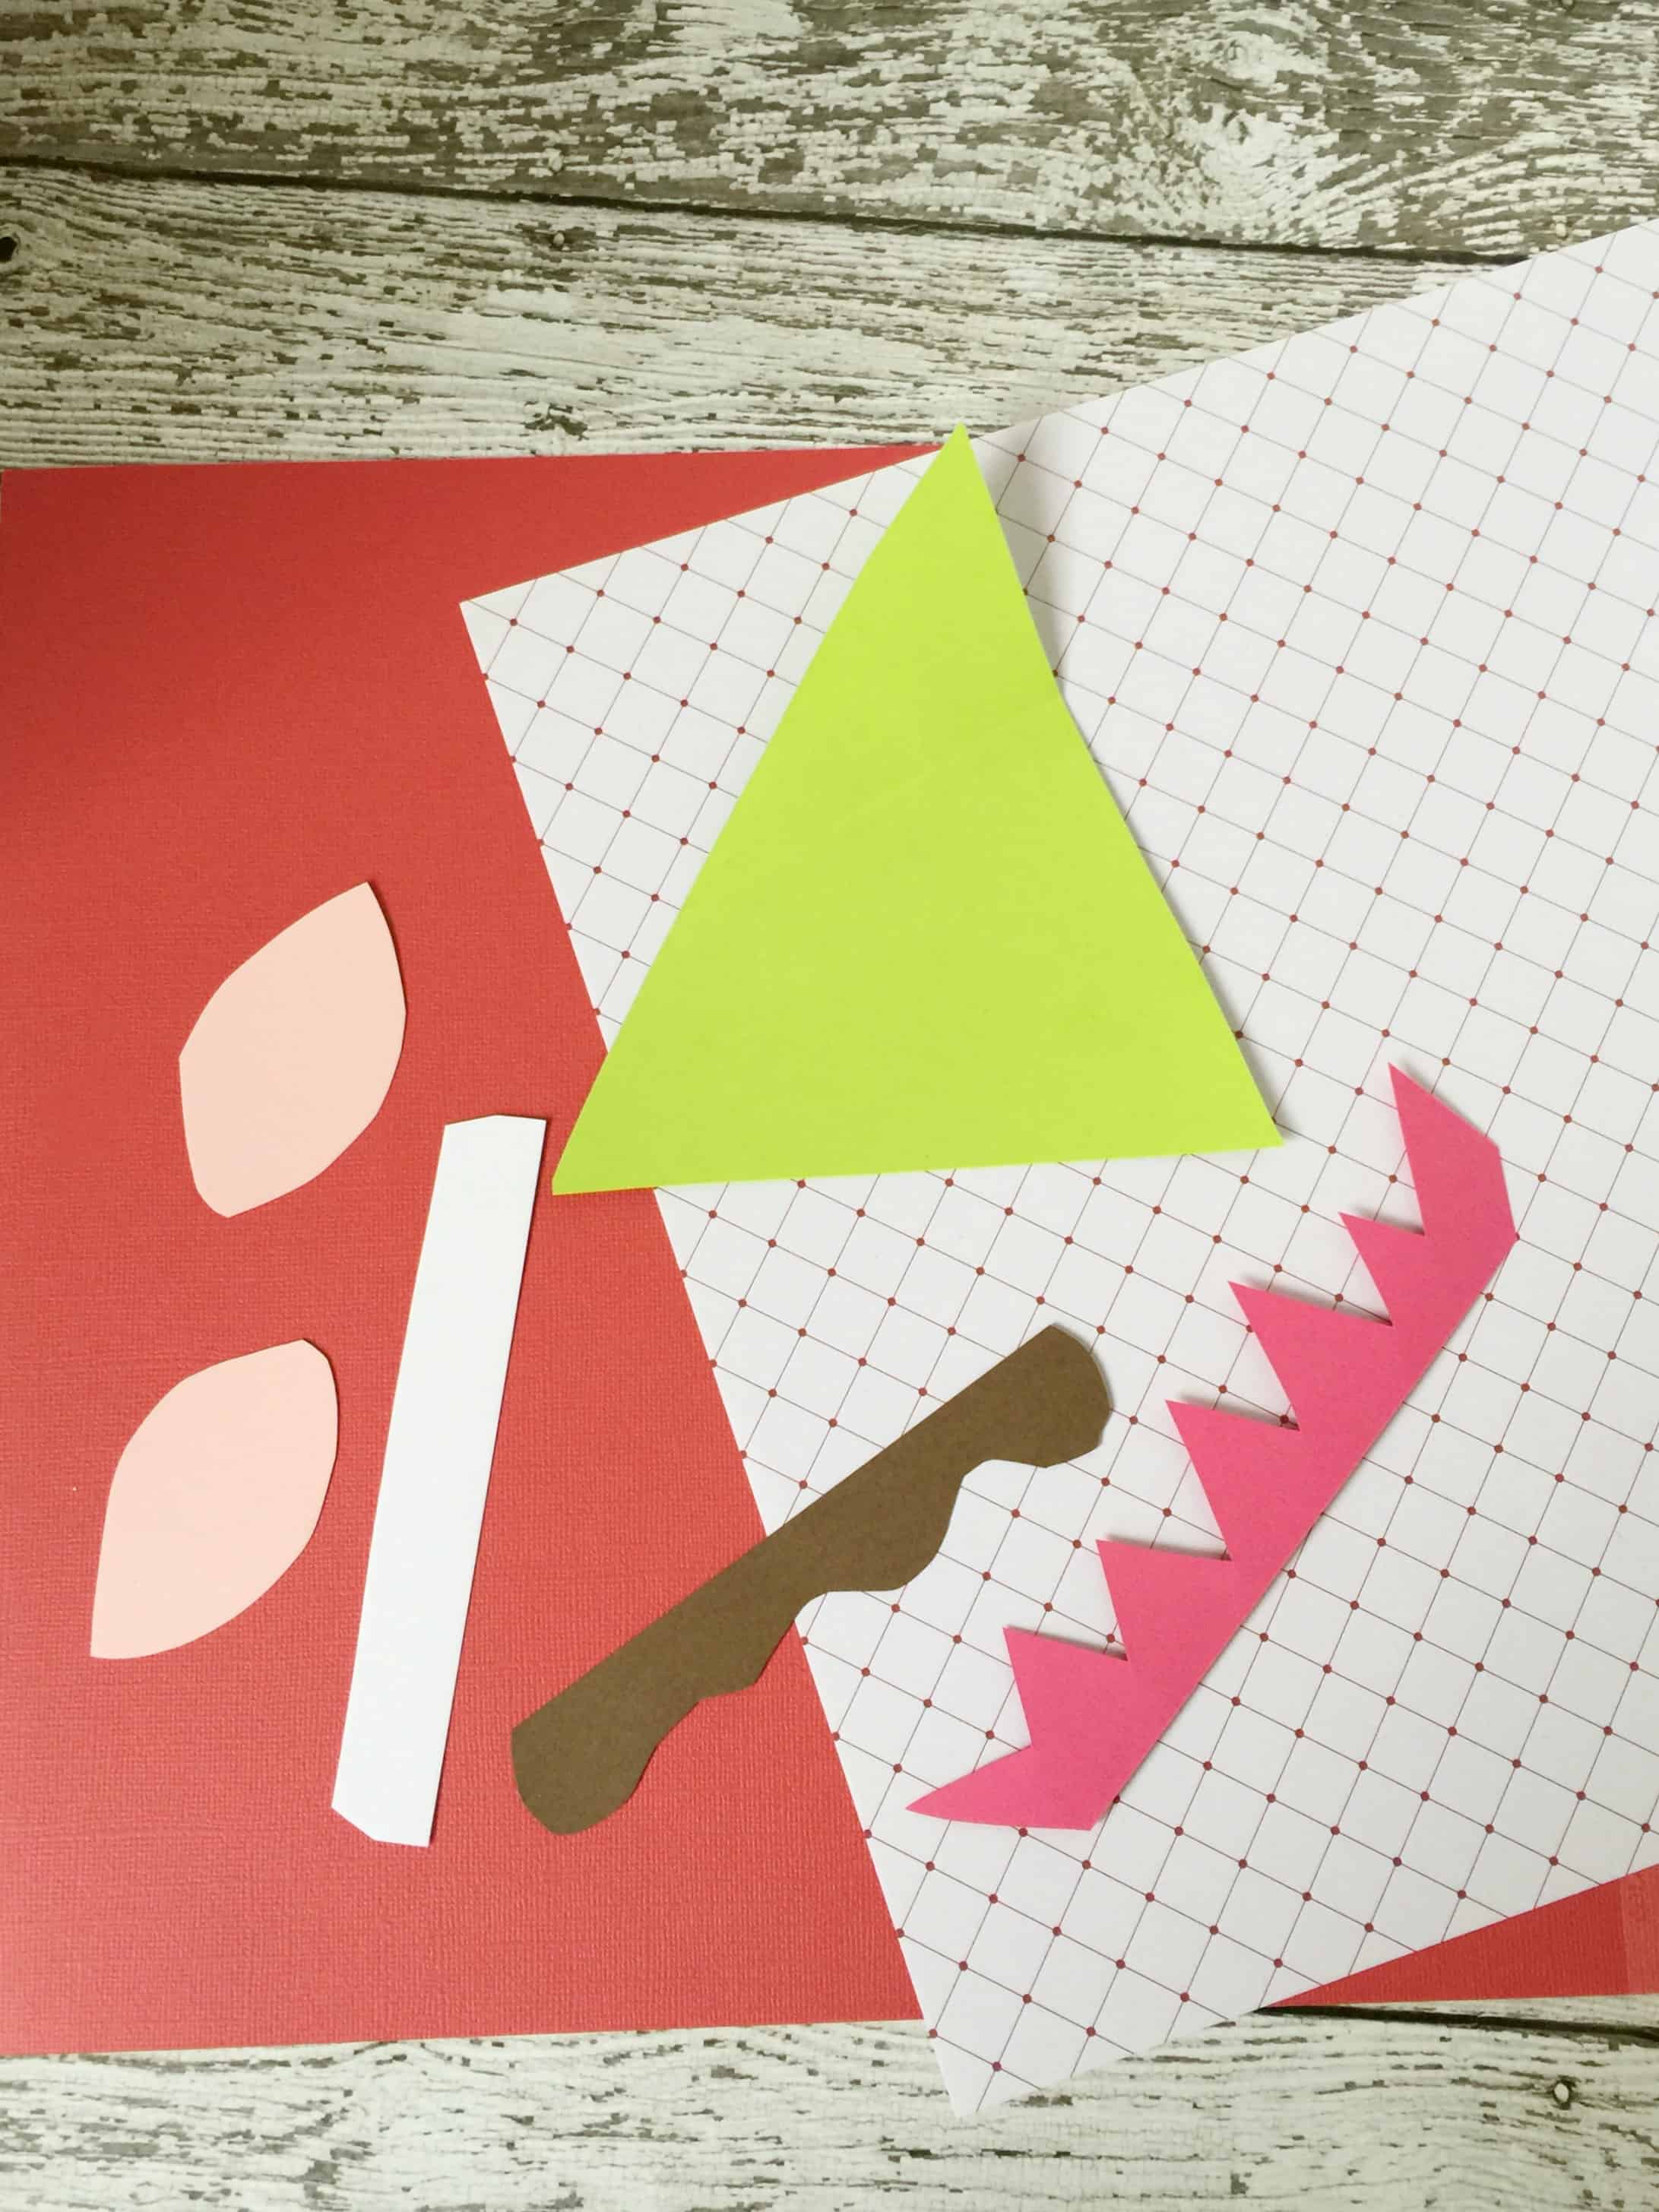
1. For the face, cut out a rectangle and two elf ears (set aside)
2. With a glue stick, glue the peach rectangle onto the bag. This will be the elf‘s head.
3. Using the green sheet of paper, cut out a triangle for the hat (set aside) and a rectangle the size of the paper bag (minus the head) for the elf body.
4. Glue the green rectangle onto the paper bag using the glue stick.
5. Cut out a 1 inch wide strip of paper from the white sheet and make it the length of the bottom of the hat. Glue to bottom of hat to look like fur. Set aside.
6. From the brown construction paper, cut out the elf‘s hair. Make it the length of the bottom of the hat and about one inch wide. Glue the hair at the very top of the face.
7. From the red construction paper, cut out the elf collar and glue it underneath his face.
8. Glue the ears onto the back of the bag.
9. Glue the eyes onto the face.
10. Glue the red pom pom as his nose.
11. From the black pipe cleaner, cut a 3 inch piece and two 1 inch pieces for the elf smile. Glue the smile right underneath the nose.
12. Finally, glue the red sparkly pom poms on his shirt and the big white cotton ball on the top of his hat.
13. ENJOY!
Need more winter holiday ideas? Check out our Pinterest board here!
More Winter Activities for Kids:
 |
 |
 |
 |