

Amazingly Simple Bug Crafts for Kids: Easy Bug Crafts
This post may contain affiliate links, view our disclosure policy for details.
It’s BUG time!! We had a fabulous time this afternoon as a family making a great collection of amazingly simple bug crafts for kids! They were SO easy to make! My 3 year old was able to either help or make them completely on his own! There are quite a few so make sure you mark this page to come back to as you work through the crafts!
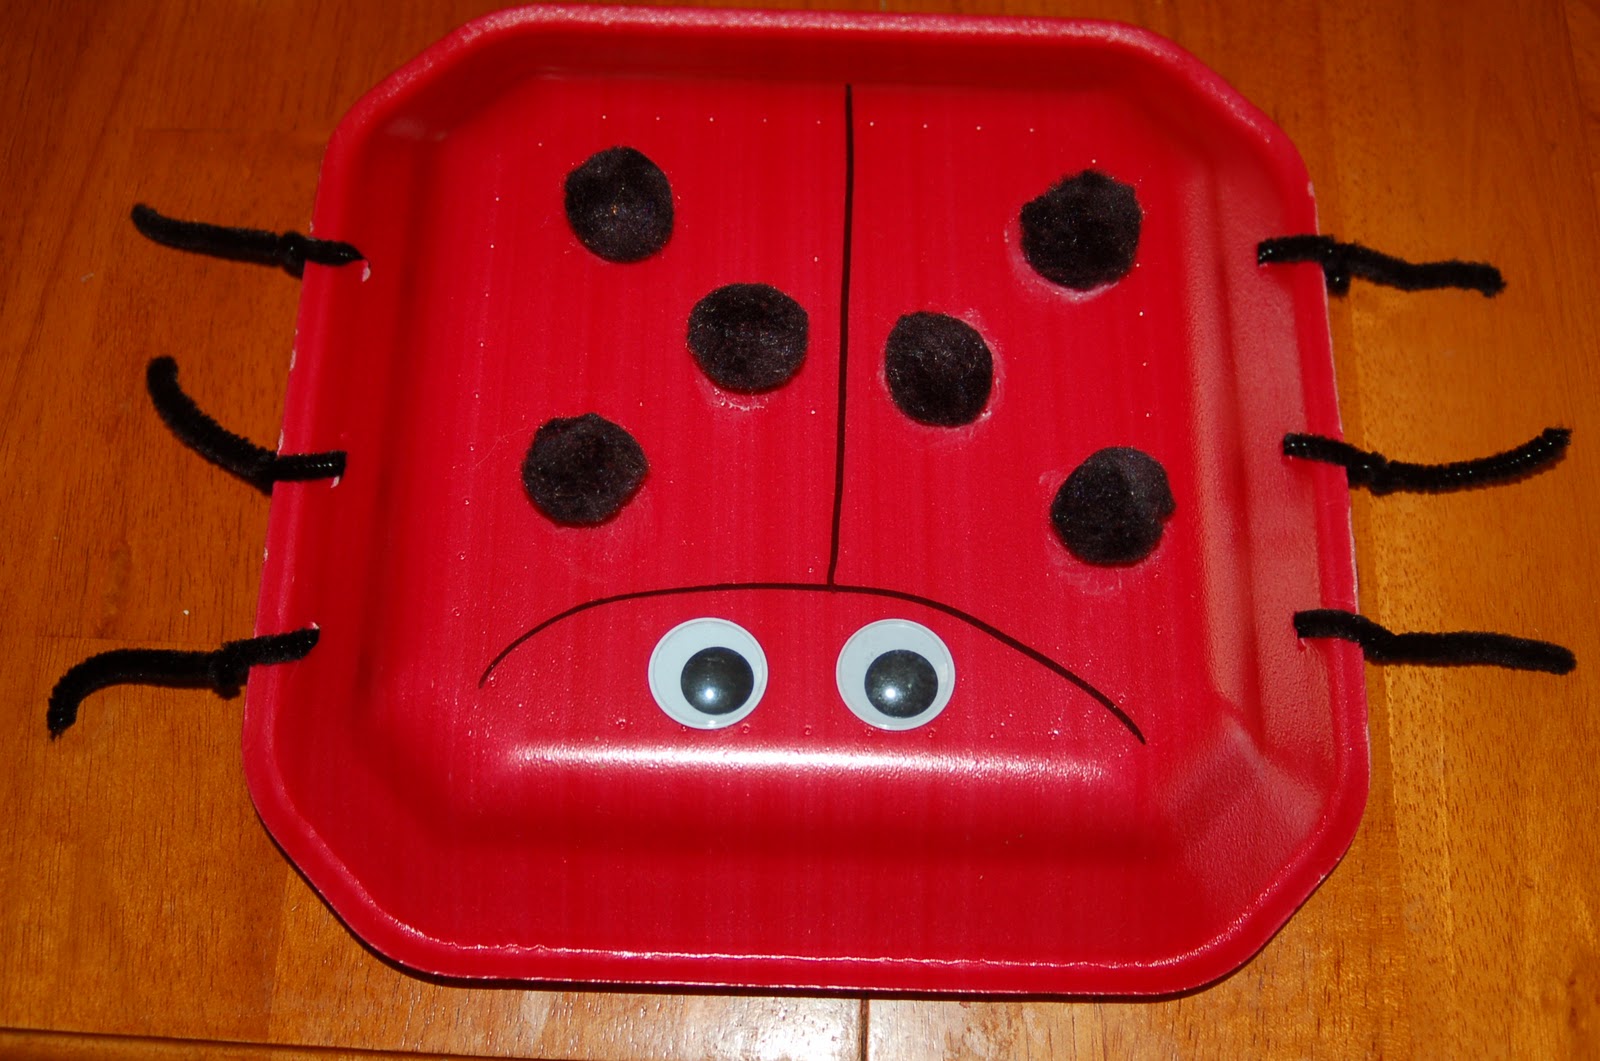
Ladybug Love Bug Craft
Materials Needed:
Red Paper Plate (or a white one which can be painted red)

1 pair of googly eyes

6 pom poms


black marker
scissors
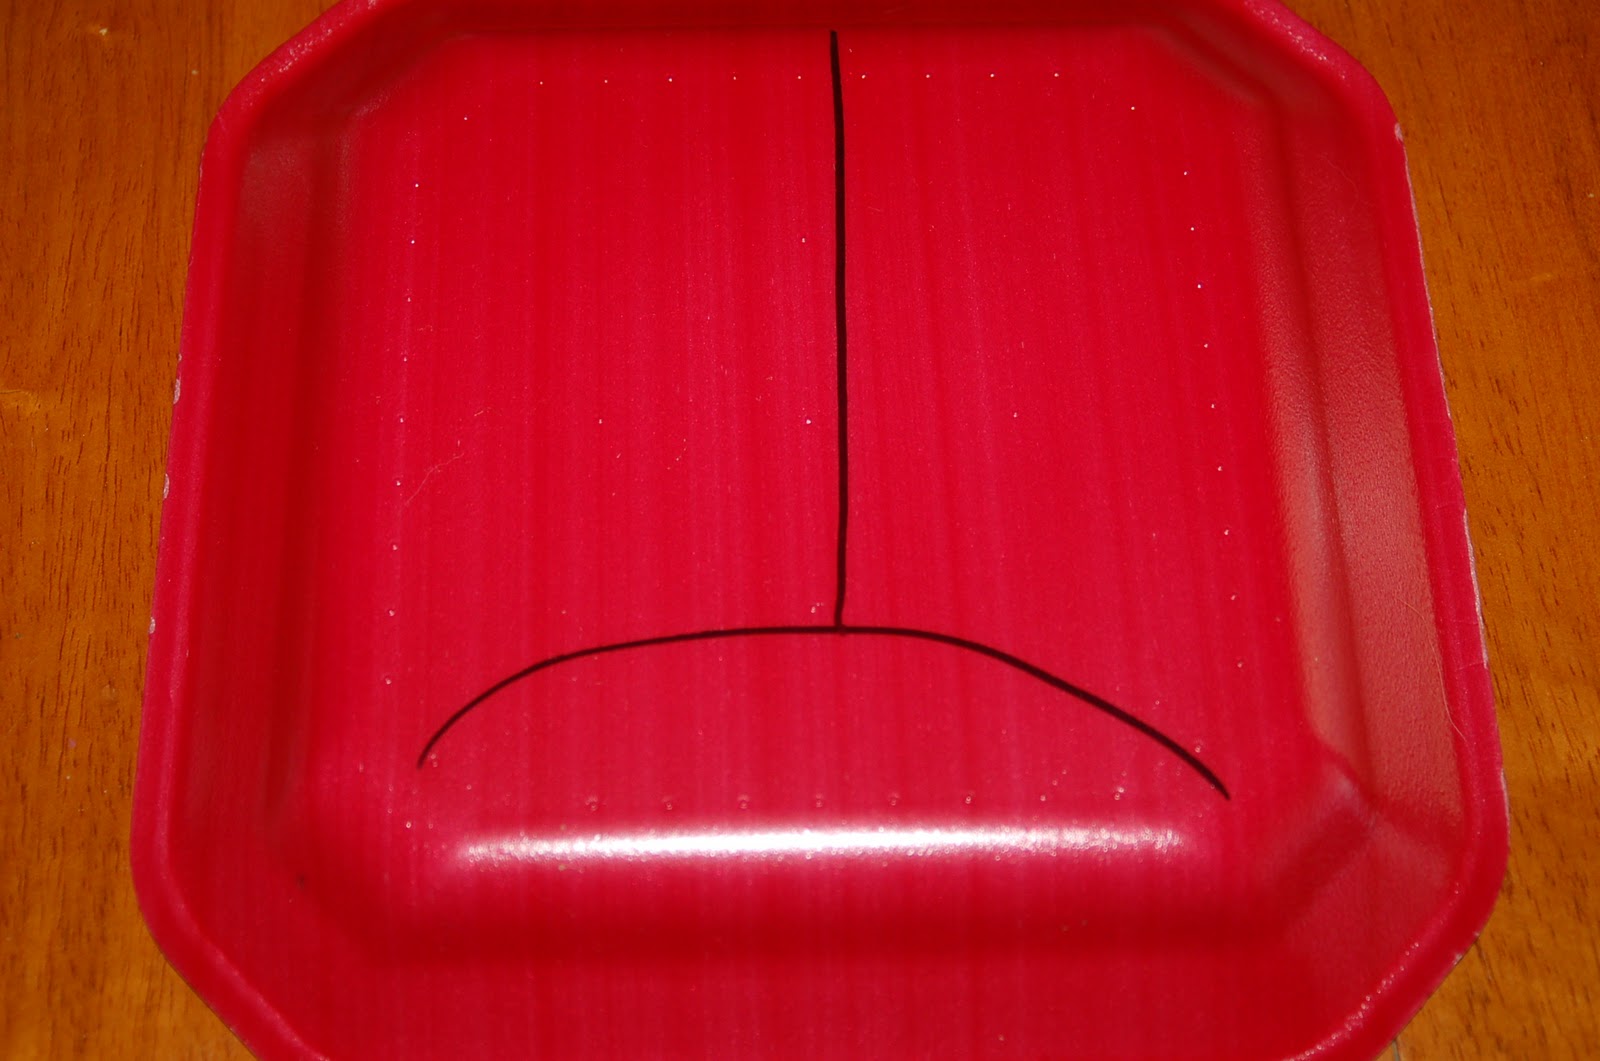
Directions: This is a very simple craft that even the youngest child can participate in. You have 2 options for the plate. You can either use a white disposable plate and have your child paint it red, or you can do as I did and use a red plate. Flip it over on a flat surface so that the bottom of the plate is facing up. Then take your black marker and draw a straight line down the middle of the plate about 2/3 of the way down, then make a semi-circle like you see below.

Using your Elmer’s Glue Stick attach 3 pom-poms to each side of the ladybug, then attach the googly eyes as shown above. Next you’ll need to work on the legs. I took one pipe cleaner, folded it in 3 equal parts, then cut it at each fold so that I had 3 equal pipe cleaner pieces. Do this for both ‘legs’. Then take a pair of scissors and poke 3 small holes on each side of the ladybug. Insert pipe cleaners and twist as needed to make legs stick.
 attach 3 pom-poms
 to each side of the ladybug, then attach the googly eyes as shown above. Next you’ll need to work on the legs. I took one pipe cleaner, folded it in 3 equal parts, then cut it at each fold so that I had 3 equal pipe cleaner pieces. Do this for both ‘legs’. Then take a pair of scissors and poke 3 small holes on each side of the ladybug. Insert pipe cleaners and twist as needed to make legs stick.
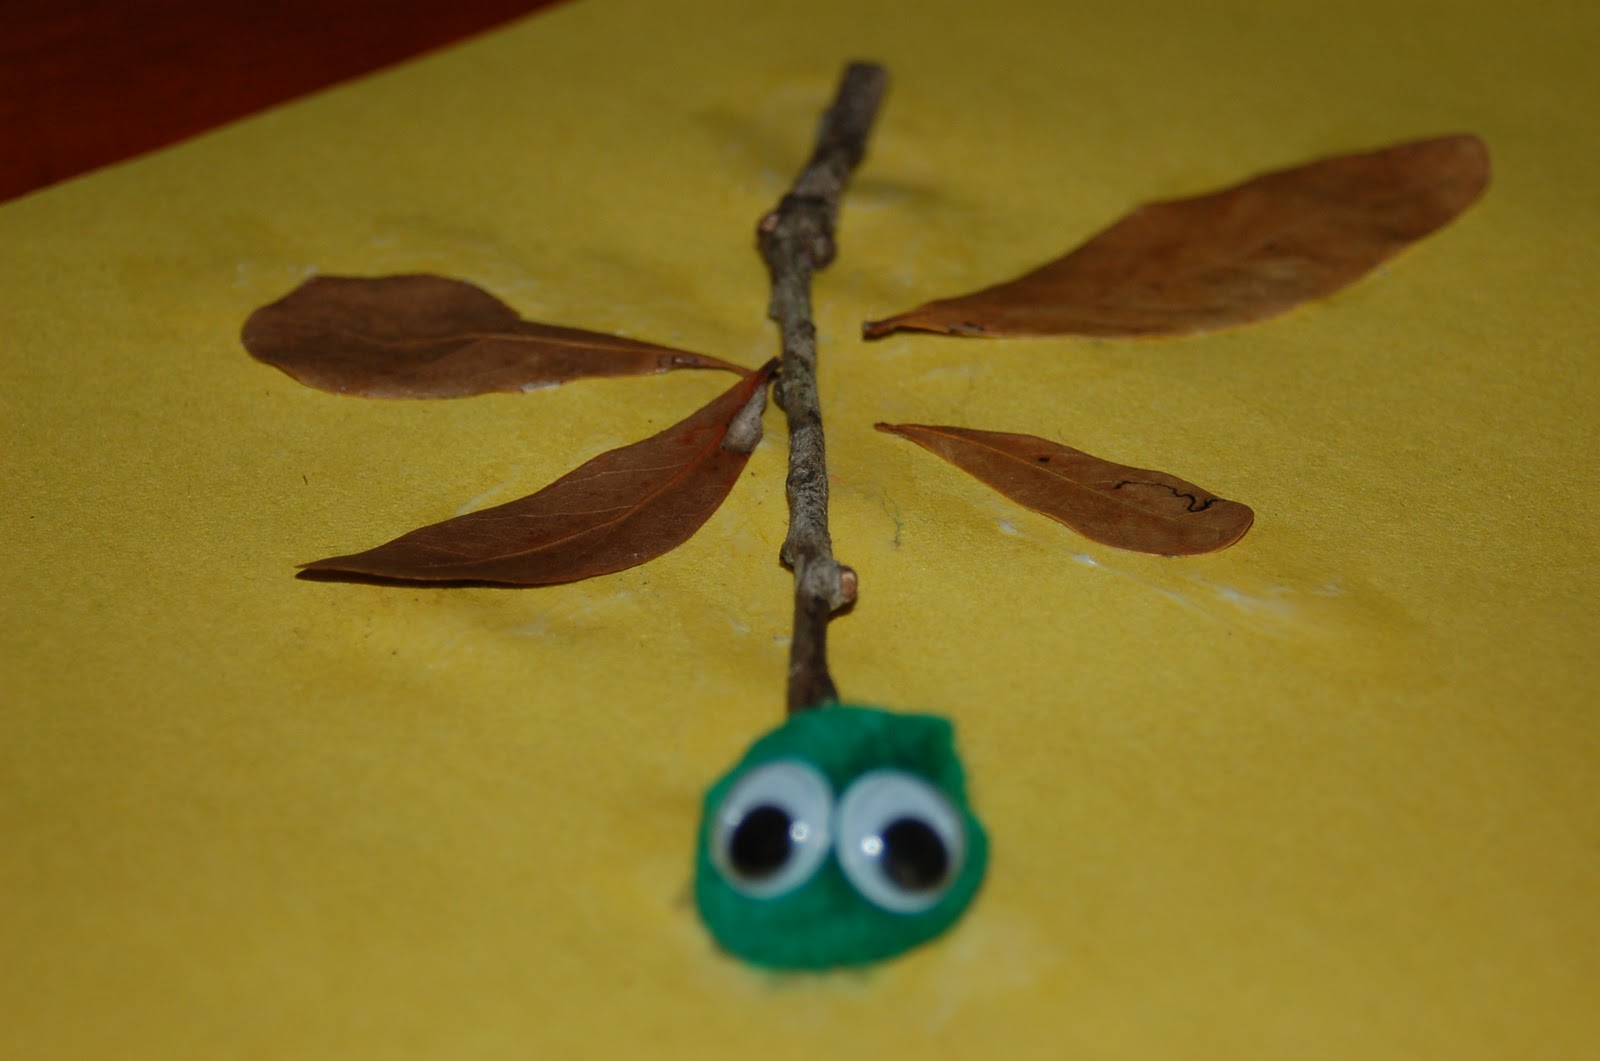
Flitter the Nature Dragonfly
Materials Needed:

1 pair of googly eyes

1 piece of construction paper

1 pom-pom
1 small twig
4 dried leaves
Directions: Take a little nature hike outdoors, and let your kids collect 1 small twig and 4 leaves each. Once inside, let each child pick out their own color construction paper. Use your Elmer’s Glue Stick to attach the dragonflies googly eyes to the pom pom ball, then glue the pom pom ball onto the construction paper. (refer to picture above) Position 2 leaves on one side of the dragonfly for its wings, then glue down. Repeat on the other side. Now this is the tricky part- glueing the twig down on the construction paper. I was actually able to glue ours on using just the glue stick. I applied the glue stick directly to the twig, then found a flat spot on the twig and laid it onto the paper.


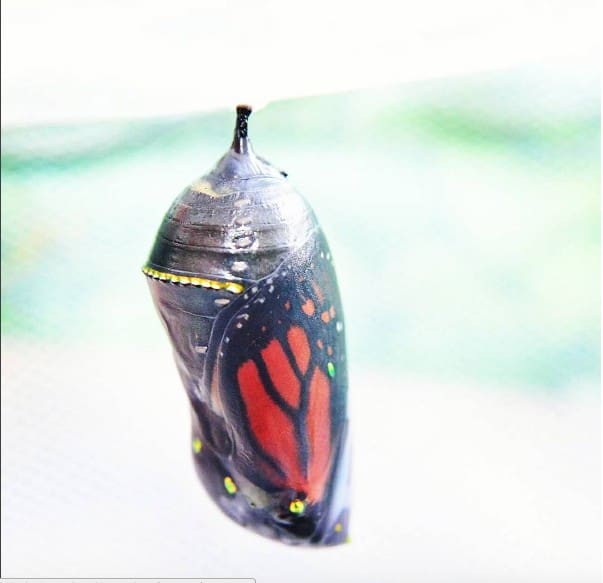
While we were outside searching for twigs & leaves my son found an insect’s molt! What a neat lesson to incorporate into our craft!
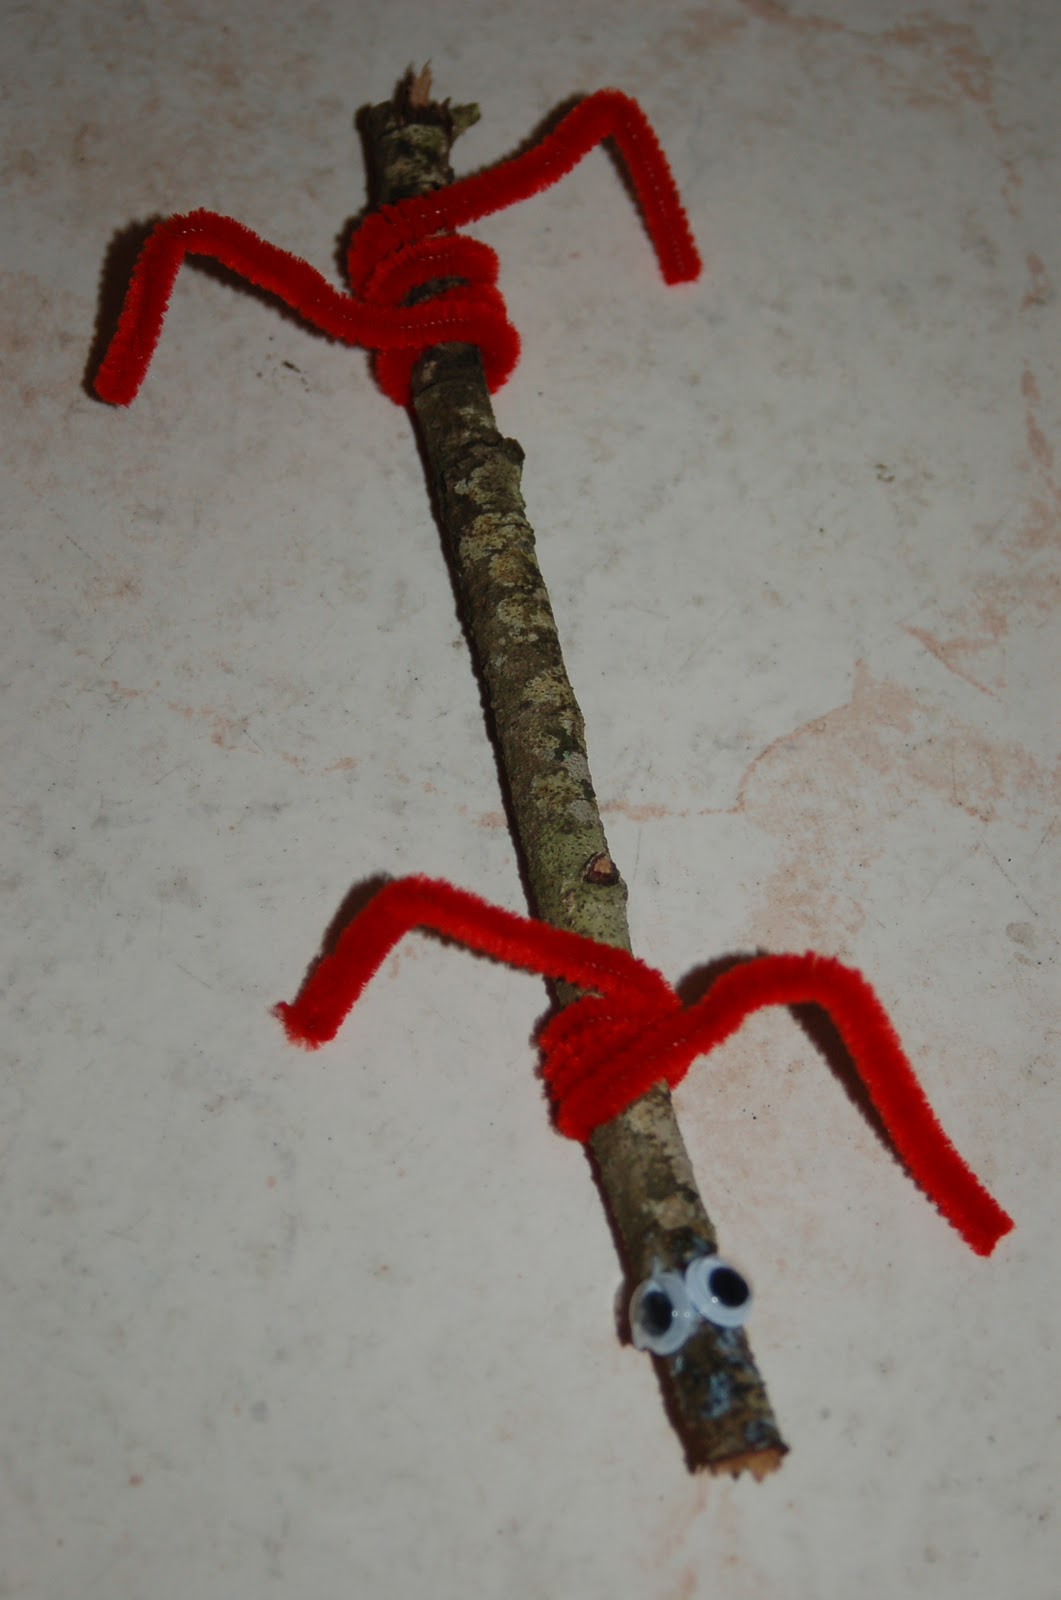
The Walking Stick Bug Craft
Materials Needed:
1 large stick

1 pair of googly eyes


Directions: While you’re outside on that little nature hunt for leaves for your dragonfly craft, make sure you grab a nice large stick for your Walking Stick craft! All you need to do is wrap a pipe cleaner around both ends of the stick for its legs. Then use your Elmer’s Glue Stick to glue a pair of googly eyes onto your stick. Surprisingly they had NO problem staying onto the stick!
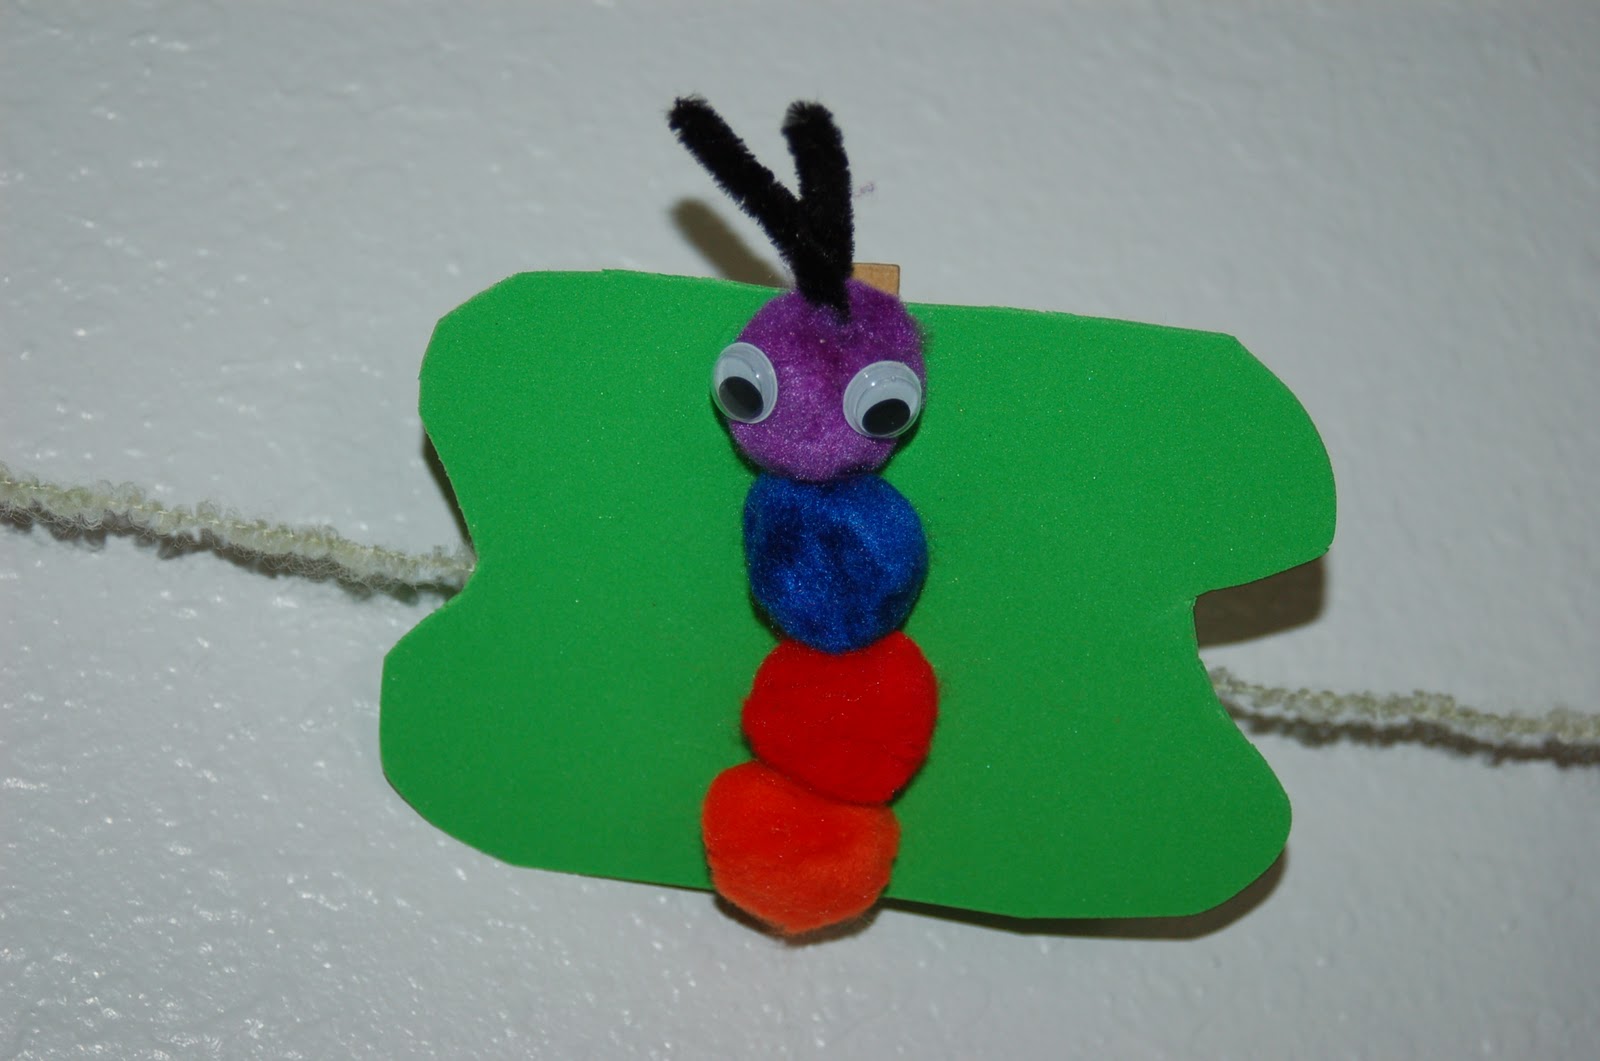
Butterfly Clip Paper Holder
Materials Needed:
Elmer’s Glue Stick
1 Clothespin

1 pair of googly eyes
1 pipe cleaner
scissors
craft foam sheets or construction paper
 or construction paper
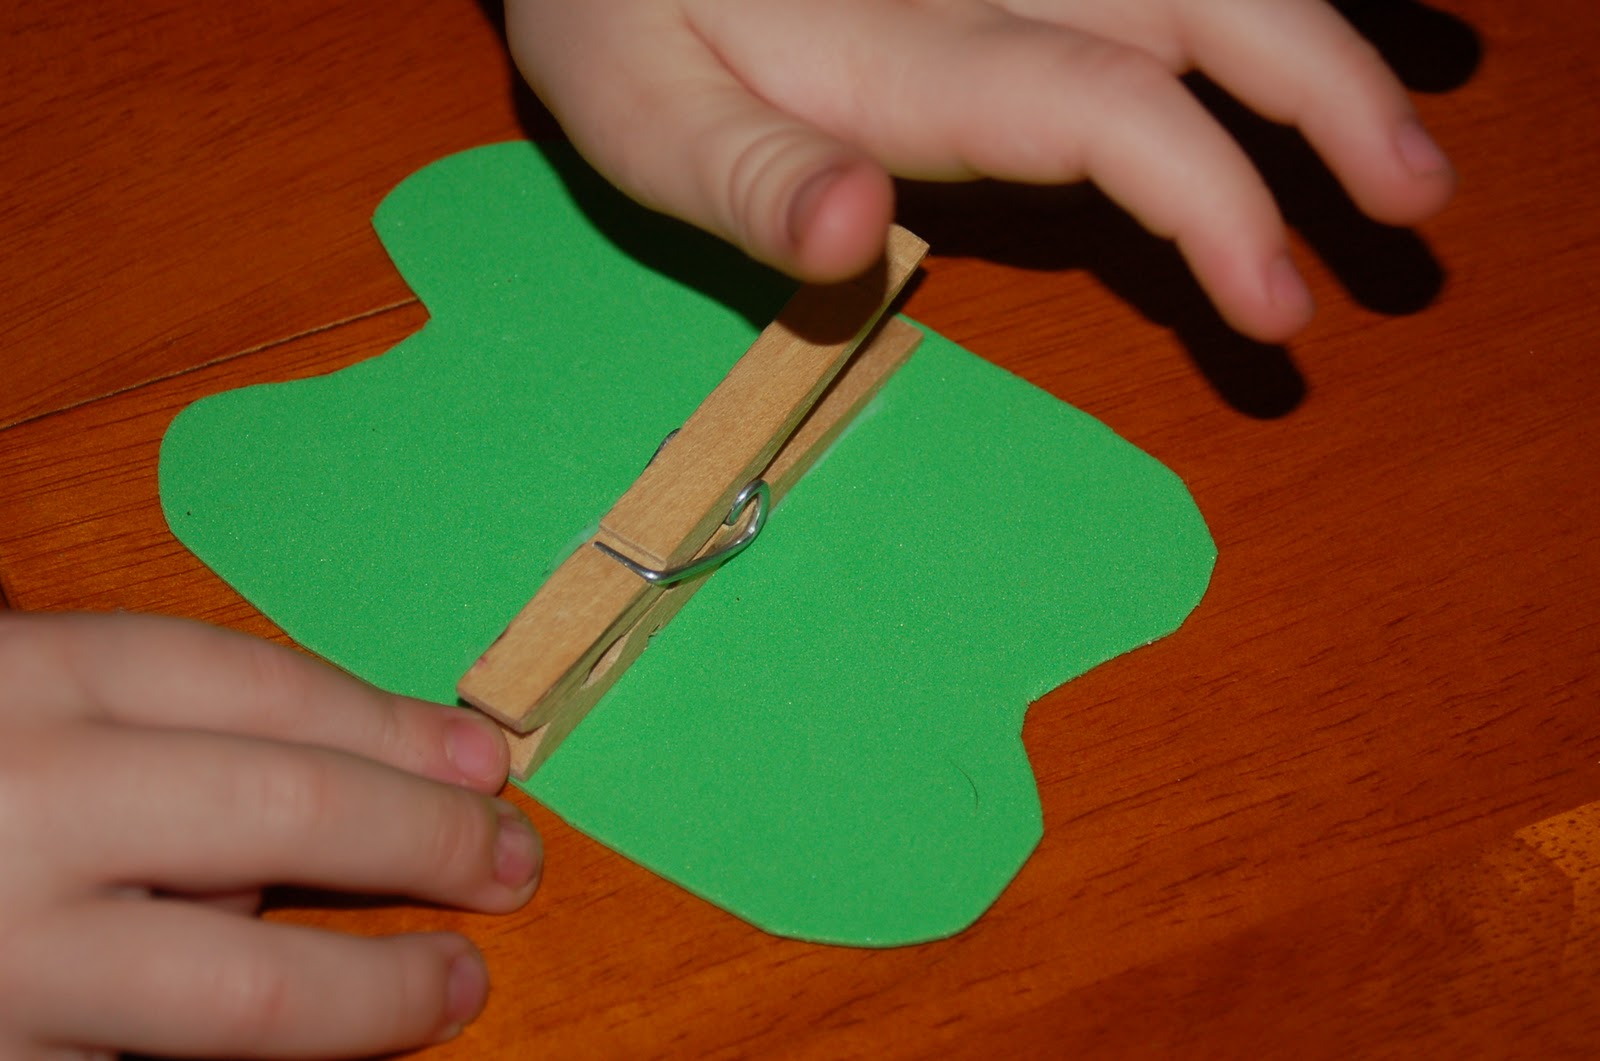
Directions: Cut 1 large wavy piece out of the craft foam sheet (or construction paper) as you can see above in the picture. Then use your Elmer’s glue stick to attach the clothespin to the butterfly wings. Let dry.

Once the wings have dried onto the clothespin, flip the butterfly over so that the clothespin is laying on the table and the foam wings are facing up. Choose which pom pom you want as the head of your butterfly, and thread a small piece of pipe cleaner through the middle of the pom pom for antennaes. Glue the googly eyes onto the pom pom head. Then use your glue stick to apply glue liberally on the clothespin, and place the 3 remaining pom poms of your color choice in the middle of the wings to form your butterfly’s body. Once it is dried you can choose to glue a magnet on the back for your fridge, or hang it on an art clothesline!
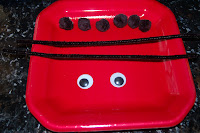
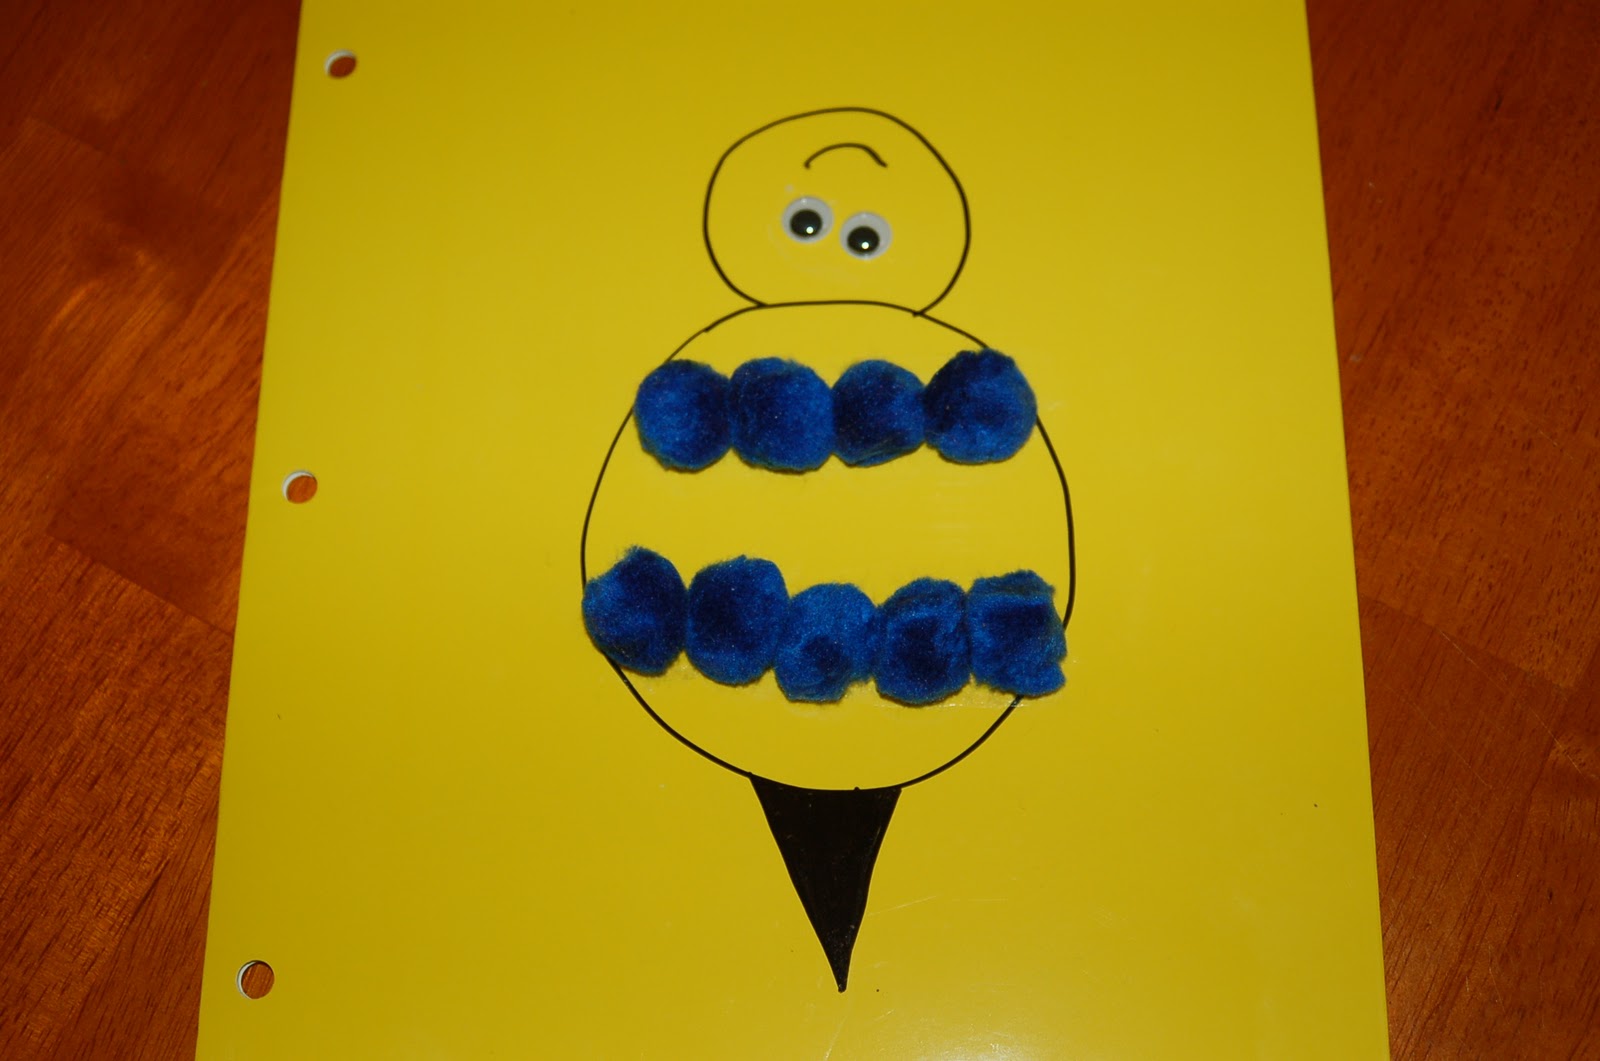
Bug Folders

Materials Needed:
portfolio folder(s)
Elmer’s Glue Stick
googly eyes
pom pom balls
black marker
Directions: Decide which insect you want to make, and choose a corresponding colored portfolio. For our ladybug portfolio we used a red folder, and for our bumblebee folder we picked yellow. Use your marker to draw a basic body outline (and stinger for a bee!), then use your glue stick to paste on the googly eyes and appropriate pom-pom balls. You can see my picture above for some ideas- get creative! You can even use glitter and stickers to spice it up a bit! My son LOVED these folders and they were SO easy to make! I was looking for a paper portfolio folder, but we ended up buying a glossy folder which actually worked great.
Bumblebee Garden Pot

Materials Needed:
Elmer’s Glue Stick
1 pair of googly eyes
1 black pom-pom ball
1 small terra cotta flowerpot
black and yellow acrylic paint
small paint brush
Directions: Turn your small flowerpot upside down, and in alternating stripes as seen above paint yellow and black bumblebee stripes. Using your Elmer’s glue stick to attach the black pom pom ball onto the top of the flowerpot, and glue the googly eyes onto the pom pom balls. You can add wings made of craft foam or construction paper, or leave it as is.
 onto the pom pom balls. You can add wings made of craft foam or construction paper, or leave it as is.
Easy Spider Web Bug Craft
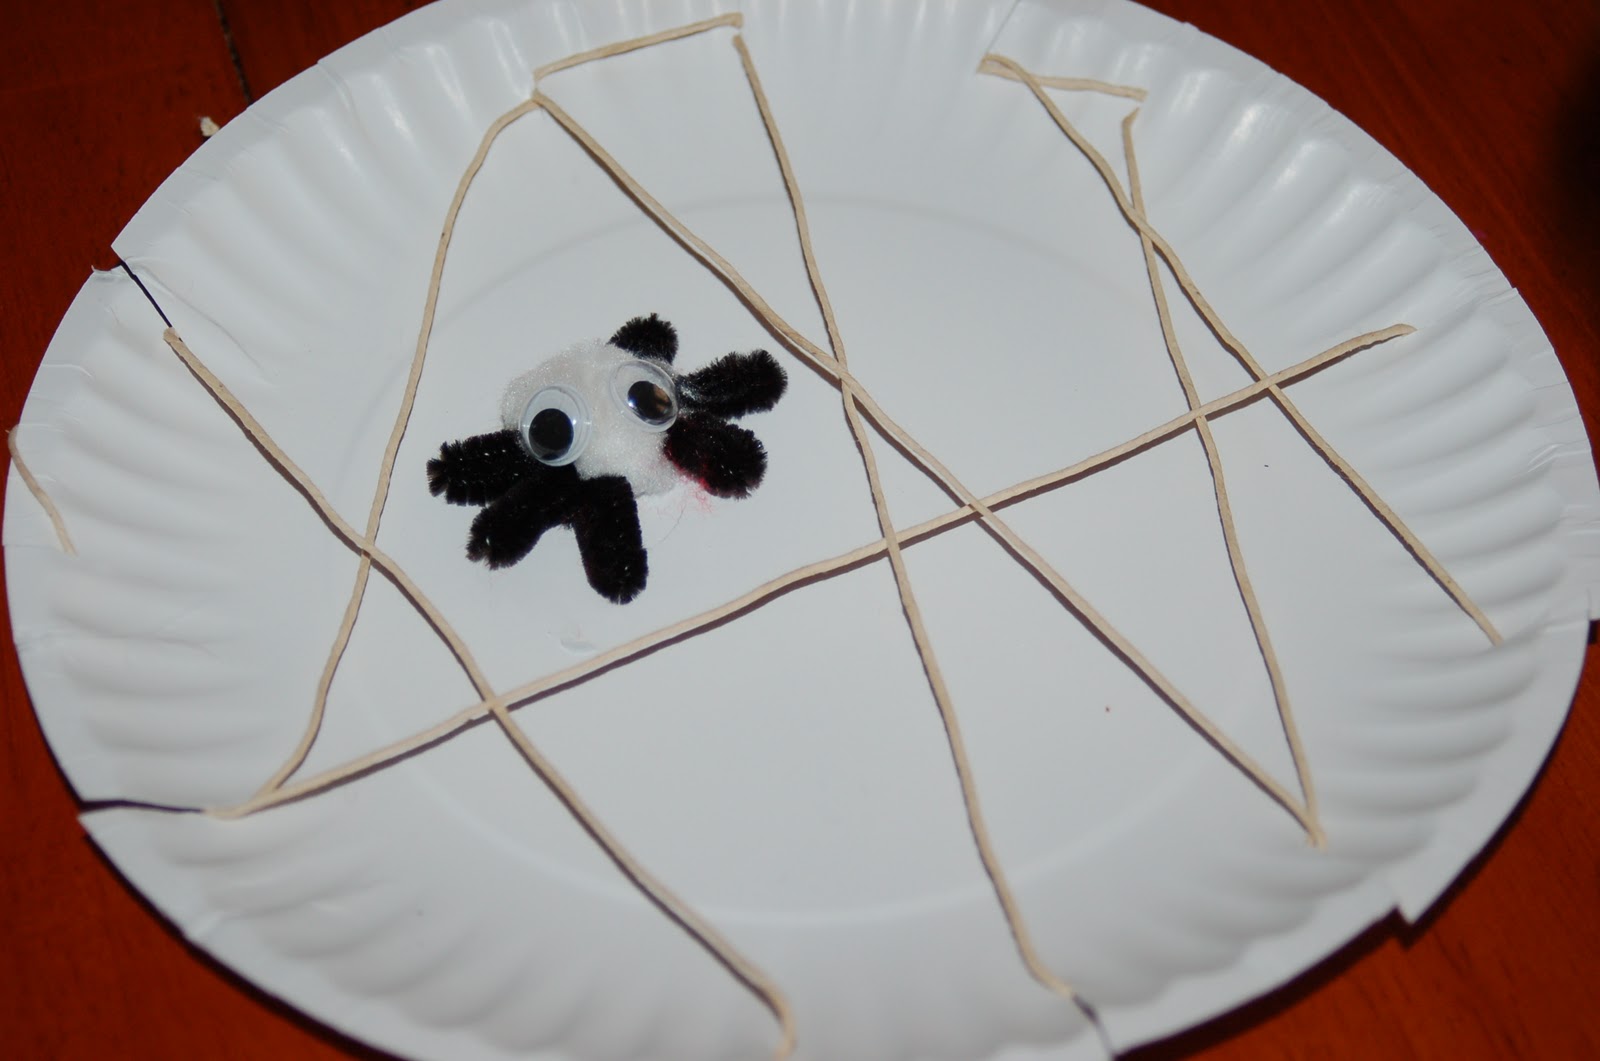
Materials Needed:
Elmer’s Glue Stick
1 white paper plate
1 pom pom ball
1 pipe cleaner
string
scissors

Directions: Isn’t that spider cute?! Pick out a pom pom ball that you want as your spider’s body, and thread a pipe cleaner through the middle of it. Fold each side of the pipe cleaner up to form 4 legs on each side. (yes i know, my spider above only shows 3 pairs of legs but when you’re working with a 3 year old sometimes you take what you can get!) Use your Elmer’s glue stick to attach the googly eyes onto the pom pom ball. Now your spider is done. Next cut 1/2 inch slits around the edges of the plate- randomly. It should NOT be symetrical. Take your string and form a web on the plate by pulling the string through the slits on the side in any random order you wish. (see picture above) Use your Elmer’s glue stick to attach the spider in the web plate!
**For all of these projects I used Elmer’s Xtreme Extra Strength Glue Stick.**
 **
**
WOW such sweet little crafts!! I always have trouble finding fun crafts for my 3 year old to make. I usually end up doing most of the work, but these look easy enough for her to do on her own. Thank you so much for sharing. 🙂
Dawn @ Mom-a-Logues
Hi, I'm your newest follower from Blog Hop Fri… would love for you to consider following me back.
malia
http://www.yesterdayontuesday.com
Great ideas, I'm going to try some of these with Mary Catherine today! Thanks for the inspiration.
Very cute ideas! I have a 3 yo grand baby who would love to do some of these. Thanks for posting! 🙂
Thanks for sharing these fun and easy ideas! I've been looking for some simple spring crafts to do with my boys and these seem perfect since we already have the supplies in the house for most of them.
Very fun!!! = D I'm doing a project for my Child Development class and I have to present a fun craft I think I'm going to do the cute lady bug plate!!!! Thanks for posting!!!